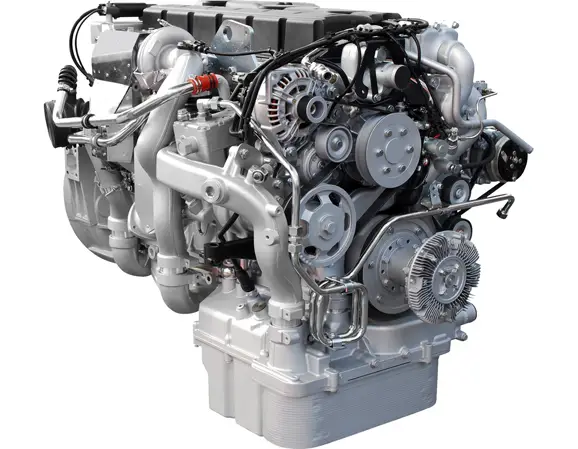

A transmission seal may be a small component, but its condition has a direct impact on fluid retention, lubrication, shifting performance, and the long-term reliability of the transmission. When a transmission seal deteriorates, fluid can escape from the transmission housing, pump, axle output, driveshaft connection, or other sealing points. If the leak is not identified and corrected, the resulting low fluid level may contribute to overheating, abnormal wear, hydraulic pressure problems, and costly transmission damage.
However, not every fluid leak near a transmission means the transmission seal has failed. Engine oil, transmission fluid, differential oil, and residual fluid from previous repairs can collect around similar areas. Correct diagnosis therefore requires identifying the fluid, locating the leak source, and checking the operating conditions that may have caused the seal to fail.
This guide explains the common symptoms of a bad transmission seal, the mechanical reasons seals leak, how to distinguish different leak locations, and what repair or replacement considerations matter to vehicle owners, repair professionals, distributors, and OEM purchasing teams.
Key point: A leaking transmission seal is not simply an external fluid-loss problem. Low transmission fluid can affect lubrication, cooling, and hydraulic operation. Check the fluid level and follow the vehicle manufacturer’s inspection procedure as soon as a leak is suspected.
What Happens When a Transmission Seal Goes Bad?
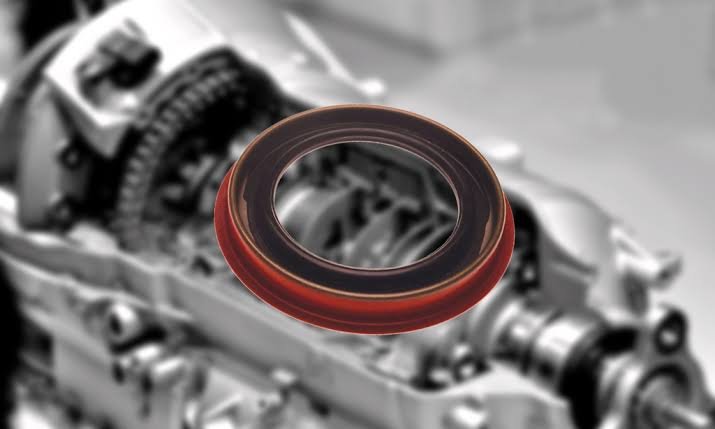
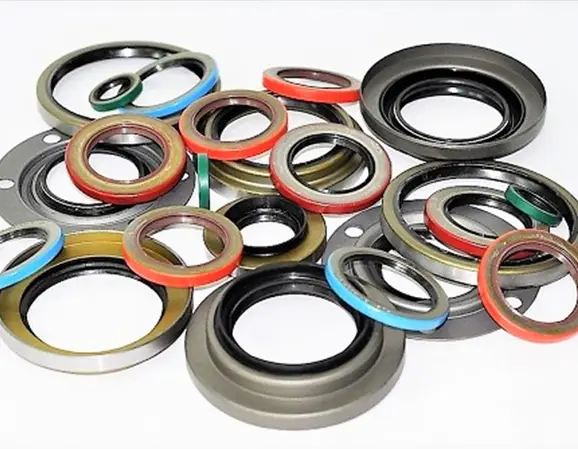
A transmission seal is designed to prevent transmission fluid or lubricant from escaping through a joint or around a rotating shaft. Depending on the transmission design, seals may be installed around the input shaft, output shaft, axle shafts, selector shaft, oil pump, or other interfaces. Static seals, such as O-rings and gaskets, seal stationary joints, while radial shaft seals retain fluid around rotating components.
When a seal becomes hardened, worn, damaged, incorrectly installed, or exposed to unsuitable operating conditions, it may no longer maintain the required sealing contact. Fluid can then pass through the sealing interface and accumulate on the transmission case, underbody, bellhousing, or garage floor.
The consequences depend on the leak location, leak rate, transmission type, fluid level, and how long the vehicle continues operating. Potential outcomes include:
- Fluid loss: Transmission fluid gradually escapes, reducing the quantity available for lubrication, cooling, and hydraulic control.
- Overheating: Insufficient fluid or poor circulation can increase operating temperature and accelerate fluid degradation.
- Abnormal shifting: On hydraulic automatic transmissions, low fluid can contribute to delayed engagement, slipping, or erratic shifts.
- Component wear: Bearings, gears, bushings, clutch packs, and other components may suffer when lubrication or hydraulic operation is compromised.
- Secondary damage: Leaked fluid may contaminate nearby components, including friction surfaces, electrical connectors, rubber parts, or exhaust components.
Important: These symptoms are not exclusive to seal failure. Low fluid caused by a damaged cooler line, cracked housing, loose connection, or failed gasket can produce similar problems. A proper inspection should confirm the source before parts are replaced.
7 Common Signs of a Bad Transmission Seal
1. Transmission Fluid Spots Under the Vehicle
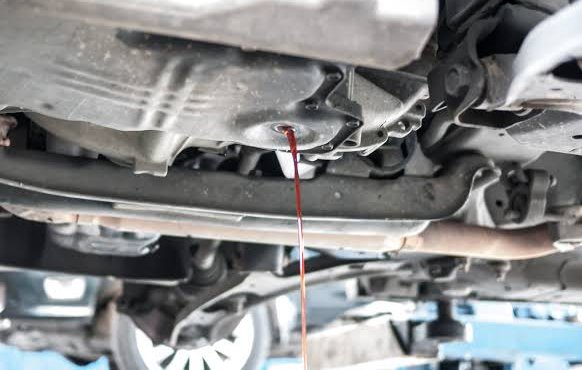
One of the most visible warning signs is a fresh fluid spot beneath the vehicle after parking. Automatic transmission fluid is often red or reddish-brown when new, but its appearance changes with age, oxidation, contamination, and the fluid specification. Some modern transmissions use fluids that are yellow, green, blue, or nearly clear. Manual transmission lubricants may also have a different color and odor.
Fluid color alone cannot reliably identify the leak source. Place clean cardboard beneath the suspected area, note where the drops appear, and inspect the transmission housing and nearby lines. The location of the spot can provide an initial clue, but airflow and underbody panels may move fluid away from the actual leak.
2. Low Transmission Fluid Level
A damaged seal can allow fluid to escape over time. If the transmission fluid level falls below the manufacturer’s specified range, the transmission may not receive the fluid volume required for normal lubrication, cooling, or hydraulic operation.
Not all transmissions have a conventional dipstick. Some require a temperature-controlled level check through a service plug, with the vehicle positioned level and the engine or transmission in a specified operating state. Always use the manufacturer’s procedure rather than estimating the level from a cold reading or adding fluid without checking the specification.
Practical advice: Do not assume that adding fluid solves the problem. Topping up may temporarily restore the level, but the leak source still needs to be repaired. Overfilling can also cause foaming, abnormal operation, or further leakage on some designs.
3. Delayed Engagement or Slipping in an Automatic Transmission
When an automatic transmission has insufficient fluid, the hydraulic system may struggle to maintain the pressure needed to apply internal clutches and other control elements. A driver may notice a delay when selecting Drive or Reverse, engine speed rising without a corresponding increase in vehicle speed, or inconsistent gear changes.
These symptoms can also result from worn clutch packs, valve-body faults, solenoid problems, internal pump wear, or electronic control issues. A seal leak should therefore be treated as one possible cause, not a definitive diagnosis.
4. Unusual Transmission Noise
Whining, buzzing, humming, or other abnormal sounds may occur when fluid level or lubrication is inadequate. The exact sound depends on transmission architecture and the affected component. A noise that changes with vehicle speed, engine speed, gear selection, or load can help a technician narrow down the cause.
Noise alone does not prove that a transmission seal has failed. A damaged bearing, pump, gear, torque converter, or differential component may create similar symptoms. If unusual noise occurs together with a visible leak or low fluid level, avoid unnecessary driving and arrange an inspection.
5. Burning Odor or Smoke

Leaking transmission fluid may contact a hot exhaust component or other heated surface, producing a burnt-fluid smell and, in some cases, visible smoke. A burning odor can also indicate overheated transmission fluid or an unrelated engine oil leak.
If smoke appears, stop the vehicle in a safe location, switch off the engine, and keep away from hot or leaking components. Do not continue driving simply to see whether the smell disappears. Fluid contacting hot exhaust parts can create a fire hazard.
6. Fluid Around the Bellhousing, Axle, or Driveshaft
The location of wetness can help identify which seal deserves attention:
- Bellhousing area: Fluid near the engine-to-transmission joint may be associated with an input shaft seal, front pump seal, torque-converter hub seal, or another nearby source. Engine rear-main-seal leakage can look similar.
- Axle output area: Wetness around a front-wheel-drive transaxle or independent rear-drive axle connection may indicate an axle shaft seal or a nearby joint leak.
- Driveshaft connection: Fluid around a transmission output flange or slip-yoke area may point to an output shaft seal or a damaged sealing surface.
- Transmission pan or case joint: Fluid along a pan flange, cover, or housing joint may come from a gasket, sealant joint, cracked component, or loose fastener rather than a shaft seal.
7. Warning Lights or Transmission Fault Messages
Some vehicles monitor transmission temperature, pressure-related behavior, gear ratio, or control-system performance. A leak that leads to low fluid or overheating may eventually coincide with a warning message or diagnostic trouble code.
A warning light does not identify the failed seal. Use a suitable diagnostic scan tool and the vehicle-specific service information to investigate stored codes, fluid temperature, operating data, and related faults. Do not clear codes before recording them.
Transmission Seal Types and Where They Are Used
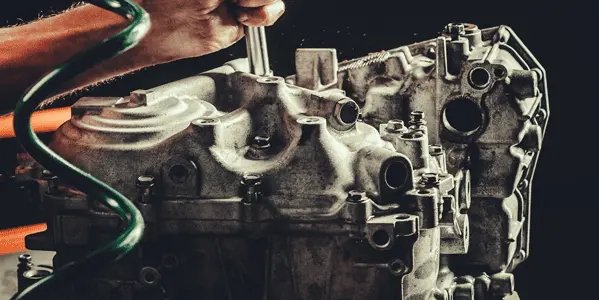
The phrase “transmission seal” covers several different sealing components. Identifying the correct type is essential because their geometry, material, installation method, and operating conditions are not interchangeable.
| Seal type | Typical location | Main function | Inspection considerations |
|---|---|---|---|
| Input shaft seal | Transmission input shaft or front housing | Retains fluid around the rotating input shaft | Inspect shaft surface, concentricity, and installation depth |
| Output shaft seal | Transmission output shaft or extension housing | Prevents fluid leakage around the output connection | Check for shaft wear, runout, and damaged mating surfaces |
| Axle shaft seal | Transaxle or differential side opening | Seals the rotating axle shaft where it enters the housing | Inspect axle finish, bearing condition, and seal bore |
| Pump or front cover seal | Automatic transmission pump or front cover | Retains fluid around the pump or associated rotating interface | Check pump alignment, hub condition, and housing damage |
| Selector shaft seal | Gear selector or manual control shaft | Seals around a moving selector shaft | Inspect shaft movement, surface condition, and O-ring fit |
| Static gasket or O-ring | Pan, cover, connector, or housing joint | Seals two stationary mating surfaces | Check flange flatness, bolt torque, groove, and compression |
For replacement, match the seal to the exact transmission model and application. A seal with the same nominal inside and outside diameters may still have a different lip profile, case construction, spring arrangement, dust lip, or directional feature.
Why Do Transmission Seals Fail?
Normal Aging and Elastomer Hardening
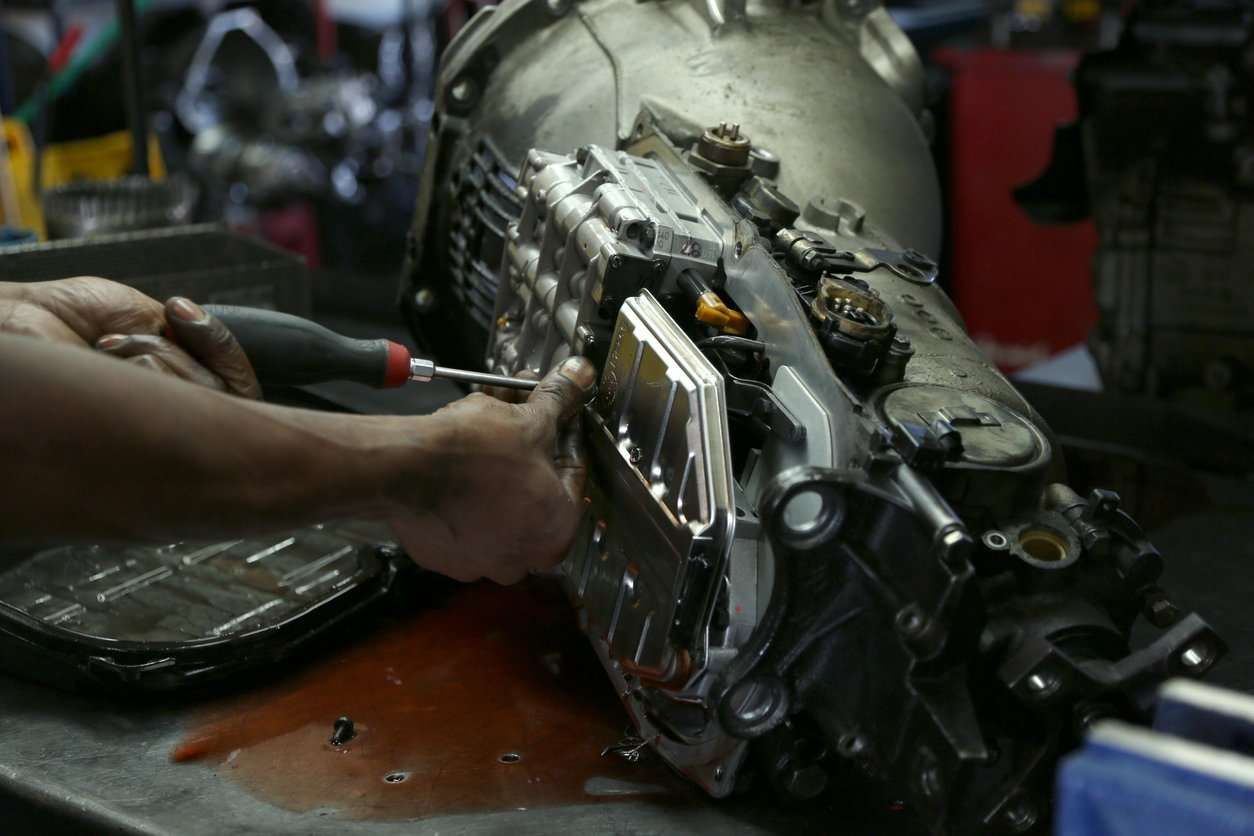
Transmission seals operate in contact with lubricant and are exposed to heat, oxidation, mechanical movement, and repeated operating cycles. Over time, some elastomer compounds lose flexibility or develop surface cracks. A hardened sealing lip may no longer follow shaft movement or maintain the intended contact pressure.
Service life depends on material formulation, fluid compatibility, temperature, shaft speed, surface finish, operating hours, and maintenance conditions. There is no universal replacement interval that applies to every transmission seal.
Excessive Operating Temperature
High temperature accelerates lubricant aging and can affect the physical properties of sealing materials. Repeated overheating may cause hardening, shrinkage, loss of elasticity, or other forms of material degradation.
When a seal fails after a transmission overheating event, replacing the seal without addressing the source of excessive temperature may lead to another failure. Check the cooling system, cooler flow, fluid condition, operating load, and any vehicle-specific temperature-related faults.
Incorrect Fluid or Chemical Incompatibility
Transmission fluids are formulated for specific friction, viscosity, oxidation, and material-compatibility requirements. An incorrect fluid may affect transmission operation and, depending on its chemistry, may be unsuitable for the installed seal compound.
Do not select a seal material based only on a generic statement such as “oil resistant.” Confirm compatibility with the specified automatic transmission fluid (ATF), manual transmission lubricant, or other application-specific fluid, as well as the expected temperature range.
Shaft Wear, Grooves, or Surface Damage
A radial shaft seal depends on the condition of the surface running beneath its sealing lip. A groove worn into the shaft, corrosion, scratches, excessive roughness, or an unsuitable surface finish can create a leakage path or accelerate lip wear.
Installing a new seal over a damaged shaft may not provide a durable repair. Depending on the manufacturer’s repair procedure, the solution may involve replacing the damaged shaft or using an approved repair sleeve. The seal lip must also run on the correct surface and at the specified position.
Shaft Runout, Misalignment, or Bearing Wear
Excessive radial movement, shaft runout, misalignment, or worn bearings can prevent the sealing lip from maintaining consistent contact around the circumference. This may produce repeated leakage even when the replacement seal is correct.
Inspect related bearings, bushings, shaft support, and housing alignment when a seal fails repeatedly. Replacing the seal alone will not correct a mechanical condition that moves the shaft outside the seal’s operating limits.
Incorrect Installation
Installation damage is a common preventable cause of early leakage. A seal may be cut by a sharp shaft edge, distorted by uneven pressing, installed at the wrong depth, or damaged when passing over splines, threads, or keyways.
Other risks include using an unsuitable driver, striking the seal directly, contaminating the lip, damaging the outer diameter, or applying sealant where the manufacturer does not specify it. Use the correct installation tool and follow the service instructions for the exact seal design.
Excessive Internal Pressure or Restricted Ventilation
Some transmission housings use a breather or vent to manage pressure changes during operation. If the vent is blocked, damaged, or incorrectly installed, abnormal internal pressure may contribute to fluid escaping through a weak sealing point.
Before replacing a repeatedly leaking seal, inspect the transmission breather and check for other causes of abnormal pressure. Do not assume that every leak is caused by a defective seal compound.
How to Diagnose a Bad Transmission Seal Correctly
A reliable diagnosis should identify the highest point of fresh fluid leakage rather than simply replacing the component nearest to the visible drip. The following workflow can help technicians reduce unnecessary parts replacement.
- Confirm the fluid source. Check the fluid specification, color, odor, and location. Compare the suspected fluid with the vehicle’s engine oil, transmission fluid, and differential lubricant where applicable.
- Inspect safely. Park on a level surface, follow the vehicle manufacturer’s lifting procedure, and use approved support equipment. Never work beneath a vehicle supported only by a jack.
- Clean the affected area. Remove old fluid and dirt from the transmission case and surrounding components. A clean surface makes it easier to identify fresh leakage.
- Inspect from the highest wet point downward. Check cooler lines, electrical connectors, pan joints, covers, shaft seals, housing seams, and nearby engine components.
- Check the fluid level using the specified procedure. Some transmissions require a particular fluid temperature, engine state, gear-selection sequence, or scan-tool reading.
- Use an approved leak-detection method if necessary. A compatible fluorescent dye may help trace a difficult leak when permitted by the fluid and vehicle manufacturer. Follow the product instructions.
- Check mechanical conditions. Inspect shaft surfaces, bearing play, runout, housing bores, breathers, and any components that could affect seal performance.
- Confirm the repair specification. Identify the exact seal part number, installation direction, depth, lubricant or dry-install requirement, and any one-time-use components before disassembly.
Do not diagnose by leak location alone. Fluid at the bellhousing may come from an engine rear main seal, transmission input seal, pump seal, or another nearby joint. Clean the area and trace the fresh leak before authorizing a major repair.
Transmission Leak Symptoms: What to Check First
| Observed symptom | Possible source | Recommended first check |
|---|---|---|
| Fluid around bellhousing | Input shaft seal, pump seal, engine rear main seal, or nearby joint | Clean and trace the highest fresh wet point; identify the fluid |
| Fluid around axle entry | Axle shaft seal, damaged axle surface, or bearing movement | Inspect the seal lip area, axle finish, and shaft support |
| Fluid near driveshaft connection | Output shaft seal or worn slip-yoke surface | Check the output shaft and mating surface for grooves or runout |
| Fluid along transmission pan | Pan gasket, sealing surface, fastener, or case damage | Inspect flange flatness, gasket condition, and specified torque |
| Repeated leakage after seal replacement | Incorrect seal, installation damage, shaft wear, runout, or pressure issue | Check part specification and underlying mechanical conditions |
| Delayed engagement with low fluid | Fluid loss from a seal, line, cooler, gasket, or housing | Verify fluid level and identify the leak before further operation |
Can You Drive With a Bad Transmission Seal?
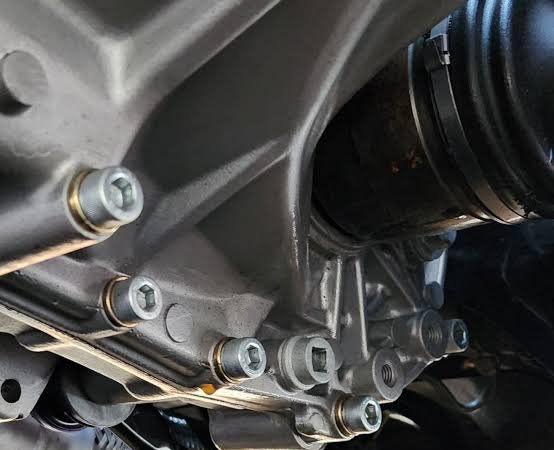
Whether a vehicle can be driven depends on the leak rate, fluid level, transmission behavior, and the vehicle manufacturer’s instructions. A small seep may not immediately affect operation, but a visible or active leak should not be ignored. Fluid loss can accelerate, especially when the transmission is hot or operating under load.
Stop driving and arrange professional assistance if:
- Transmission fluid is dripping rapidly or forming a growing pool.
- The transmission slips, loses drive, or has difficulty engaging a gear.
- A transmission temperature warning or serious fault message appears.
- There is smoke, a strong burning smell, or fluid contacting hot exhaust components.
- The fluid level is below specification or cannot be verified safely.
Continuing to operate a transmission with insufficient fluid may turn a seal repair into a much more extensive repair. If the leak is substantial or the transmission shows abnormal behavior, towing is generally safer than driving to a workshop.
How Is a Transmission Seal Replaced?
The repair procedure varies significantly by seal location and transmission design. An accessible axle shaft seal may be replaced without removing the transmission, while an input shaft or front pump seal may require transmission removal and additional disassembly.
Step 1: Identify the Exact Seal
Confirm the transmission code, vehicle application, OE reference number, seal position, and dimensional specification. Do not order a part based only on the vehicle model name because different engine and transmission combinations may use different seals.
Step 2: Prepare the Vehicle and Components
Follow the workshop manual for fluid draining, electrical disconnection, driveshaft or axle removal, transmission support, and any required component removal. Use appropriate lifting equipment and protect mating surfaces from dirt and impact damage.
Step 3: Remove the Old Seal Without Damaging the Housing
Use a suitable seal puller or approved removal tool. Avoid levering against a precision sealing bore or scratching the shaft. Damage to the housing or shaft can create a leak path that remains after the new seal is installed.
Step 4: Inspect the Shaft and Housing
Check the shaft for grooves, corrosion, scoring, and abnormal wear. Inspect the seal bore for scratches, distortion, and contamination. Check bearing condition and shaft movement where the service procedure requires it. Correct the cause of abnormal movement before installing a replacement seal.
Step 5: Install the Correct Replacement Seal
Use the specified installer to apply even pressure and maintain the correct installation depth. Protect the sealing lip when it passes over splines, threads, or sharp edges. Observe the specified lip direction and any directional markings.
Installation lubrication is design-dependent. Some conventional elastomer shaft seals require a light film of compatible lubricant on the sealing lip, while certain PTFE seals are designed for dry installation and may include a forming or installation sleeve. Do not apply grease or oil to a PTFE lip unless the seal manufacturer specifically instructs you to do so.
Step 6: Reassemble and Refill to Specification
Replace one-time-use fasteners, clips, gaskets, or other components when required. Tighten fasteners to the manufacturer’s torque sequence and specification. Refill with the exact approved transmission fluid and use the prescribed temperature and level-check procedure.
Step 7: Verify the Repair
After reassembly, inspect the repair area for leakage. Complete the required gear-selection or road-test procedure, monitor transmission operation and temperature where applicable, and recheck the sealing area. A repair should be considered complete only after the fluid level and leak condition have been verified.
Choosing the Right Transmission Seal Material
Seal material selection should be based on the actual fluid, temperature, shaft speed, pressure conditions, dynamic movement, and OEM design. A material that performs well in one transmission application may not be suitable for another.
| Material | Typical characteristics | Selection considerations |
|---|---|---|
| NBR (Nitrile) | Common oil-resistant elastomer with good general-purpose sealing properties | Confirm temperature limits and compatibility with the specified transmission fluid |
| HNBR | Improved heat and mechanical performance compared with many standard NBR compounds | Check the exact compound grade, fluid compatibility, and dynamic requirements |
| FKM | Often selected for demanding temperature and chemical environments | Verify low-temperature flexibility, compound formulation, and application-specific fluid compatibility |
| PTFE | Low-friction material used in selected high-performance dynamic sealing designs | Installation procedure, shaft finish, lip geometry, and dry-running requirements are critical |
Material selection should never be based on temperature rating alone. A technically suitable seal must also match the transmission fluid chemistry, shaft surface, speed, pressure, housing dimensions, and installation method. Always confirm the OEM specification or obtain validation from the seal manufacturer.
How B2B Buyers Can Specify Transmission Seals More Accurately
For distributors, importers, repair networks, and OEM purchasing teams, incomplete application information is a common reason for incorrect seal quotations and replacement-part mismatches. Providing a structured technical request helps manufacturers identify the correct design and reduces avoidable sampling and ordering errors.
Information to Include in an RFQ
- Vehicle or equipment details: Manufacturer, model, production year, engine configuration, and application.
- Transmission identification: Transmission manufacturer, model, code, and serial number where available.
- Seal position: Input shaft, output shaft, axle, pump, selector shaft, pan, or another defined location.
- OE or cross-reference number: Original part number, previous supplier number, or verified replacement reference.
- Dimensions: Inside diameter, outside diameter, width, and any special profile or mounting dimensions.
- Material requirements: NBR, HNBR, FKM, PTFE, or an OEM-defined compound, subject to technical confirmation.
- Operating conditions: Fluid type, operating temperature, shaft speed, pressure, and duty cycle.
- Drawings and samples: Cross-sectional drawing, photographs, old seal sample, or shaft and housing details.
- Commercial requirements: Order quantity, annual demand, packaging, labeling, inspection documents, and delivery destination.
Supplier evaluation tip: Ask whether the manufacturer can verify the seal profile, material compound, dimensional tolerances, and application compatibility. For critical applications, request sample validation and relevant inspection or test documentation rather than relying only on a catalog description.
How to Reduce Repeat Transmission Seal Failures
Long-term sealing reliability depends on more than the replacement part. The following practices can help repair workshops and equipment operators reduce repeat leakage:
- Use the correct OE-equivalent seal and verify the transmission code before ordering.
- Maintain the specified transmission fluid type and level.
- Investigate overheating, blocked breathers, and abnormal internal pressure.
- Inspect the shaft running surface and related bearings before fitting a new seal.
- Use the correct installation mandrel and protect the sealing lip during assembly.
- Follow the seal manufacturer’s lubrication, orientation, and installation-depth instructions.
- Keep the sealing area and replacement components clean during installation.
- Verify the repair under the operating conditions specified by the vehicle manufacturer.
For fleet operators and distributors, recording the seal part number, transmission application, material, failure location, and operating hours can also help identify recurring problems across a vehicle population. This information is useful when reviewing supplier quality, material selection, or maintenance practices.
Frequently Asked Questions About Bad Transmission Seals
1. What are the most common symptoms of a bad transmission seal?
Common signs include transmission fluid leaking beneath the vehicle, wetness around the axle or driveshaft connection, fluid near the bellhousing, a falling fluid level, delayed engagement, slipping, unusual transmission noise, and a burning-fluid smell. These symptoms can also be caused by other faults, so the leak source should be confirmed before replacing a seal.
2. Can a bad transmission seal cause transmission failure?
Yes, a leaking seal can contribute to transmission damage if fluid loss becomes severe enough to compromise lubrication, cooling, or hydraulic operation. The risk depends on the transmission design, leak rate, operating conditions, and how quickly the problem is corrected. A seal leak should be diagnosed and repaired before low fluid causes secondary damage.
3. How can I tell whether the leak is from the transmission seal or the engine rear main seal?
Both leaks can appear near the engine-to-transmission joint. Fluid identification, cleaning, inspection from the highest fresh wet point, and an appropriate leak-tracing method can help distinguish them. Because the two components may require different repair procedures, do not assume the source based only on fluid appearing at the bottom of the bellhousing.
4. Is it expensive to replace a transmission seal?
Repair cost varies with the seal location, vehicle design, labor time, replacement-part specification, and whether related components are damaged. An accessible axle shaft seal may require substantially less labor than an input shaft or pump seal that requires transmission removal. A reliable estimate should be based on confirmed diagnosis and the vehicle-specific repair procedure.
5. Why does a transmission seal keep leaking after replacement?
Repeated leakage may indicate an incorrect seal specification, damaged shaft surface, excessive runout, worn bearings, housing damage, abnormal internal pressure, or installation errors. Check the underlying mechanical conditions and confirm the seal’s material, dimensions, profile, direction, and installation depth before fitting another replacement.
Reliable Transmission Sealing Starts With the Correct Specification
A failed transmission seal can lead to fluid loss, poor transmission operation, overheating, and secondary component damage. The most effective solution is to identify the exact leak location, confirm the transmission and seal specification, inspect the shaft and housing, and correct any underlying mechanical problem before installation.
For replacement-part sourcing, accurate application data is just as important as material selection. If you are purchasing transmission oil seals for repair operations, distribution, or OEM supply, provide the transmission code, seal position, OE reference, dimensions, and operating conditions so the correct product can be evaluated.
Explore our automotive oil seal range or review our oil seal technical guide. For application-specific requirements, drawings, samples, or bulk purchasing inquiries, contact our team to discuss a suitable sealing solution.
Technical References and Further Reading
- Schaeffler – Technical information and engineering resources on automotive drivetrain and transmission components.
- Parker Hannifin – Sealing technology, rotary shaft seal design, materials, and application guidance.
- Freudenberg Sealing Technologies – Engineering resources on sealing solutions, elastomer materials, and dynamic applications.
- SAE International – Automotive engineering standards and technical publications.
- China Oil Seals – Crankshaft Seal Replacement – Related information about automotive dynamic shaft seals and replacement applications.