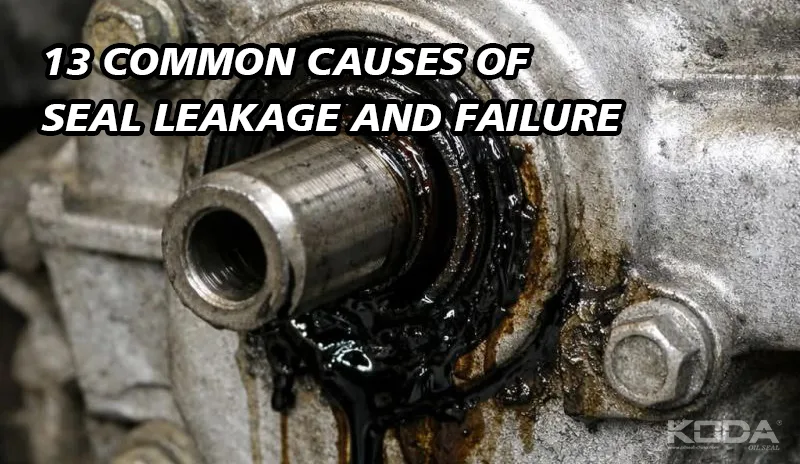
Seal leakage is rarely caused by the sealing element alone. In many applications, premature leakage results from a combination of installation conditions, shaft surface quality, pressure, temperature, lubrication, contamination, material compatibility, or equipment movement.
When an oil seal, rotary shaft seal, hydraulic seal, or other elastomeric sealing component begins to leak, replacing the seal immediately may solve the problem temporarily but does not necessarily remove the underlying cause. If the same operating condition remains, the replacement seal may fail again within a short period.
A more reliable approach is to treat leakage as a failure-analysis problem: identify where the fluid is escaping, examine the damaged area, determine the operating condition that produced the damage, and then select the appropriate corrective action.
Key principle:
Do not diagnose a leaking seal from the presence of oil alone. First determine the actual leak source, then inspect the seal, shaft, housing, lubricant, pressure, temperature, and installation condition.
How Does a Seal Actually Prevent Leakage?
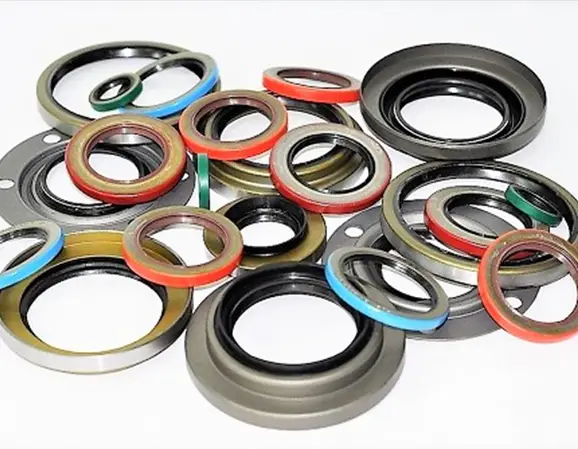
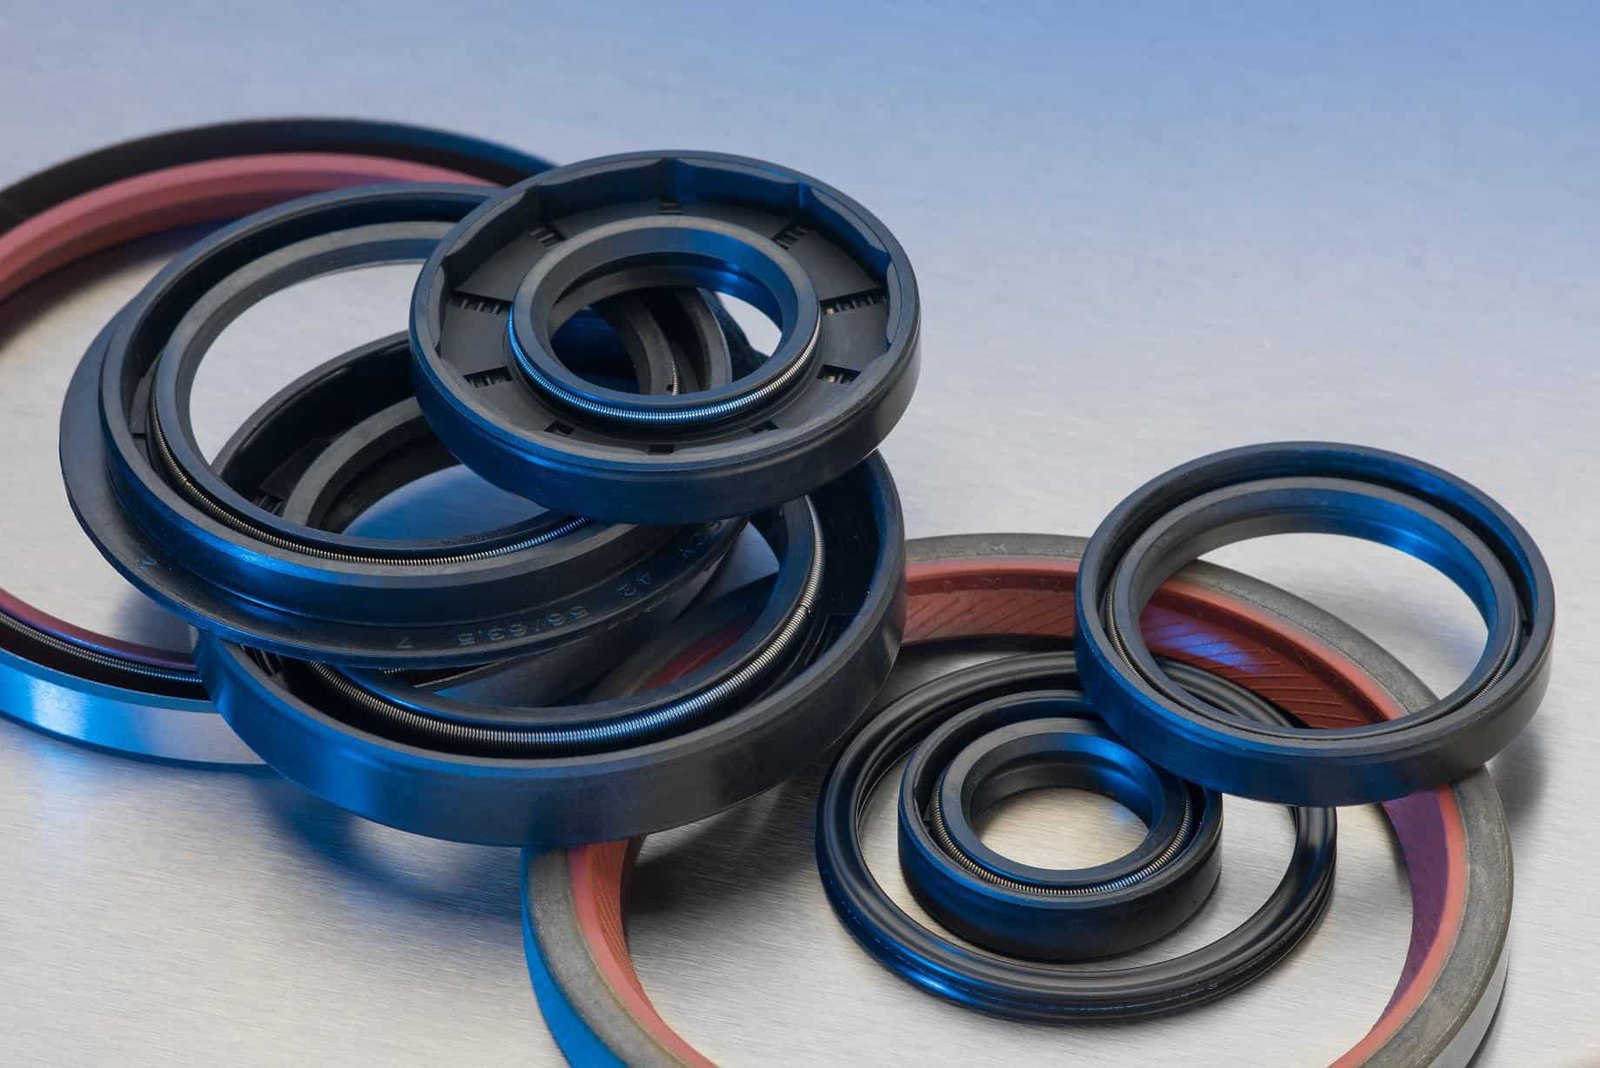
A rotary oil seal normally uses an elastomer lip to maintain controlled contact with a rotating shaft. Many designs also incorporate a metal case and a garter spring that helps maintain radial contact pressure.
The sealing interface is more sophisticated than a simple rubber-to-metal barrier. During shaft rotation, a very thin lubricant film can form between the lip and shaft. This film helps reduce friction and wear while the lip geometry and pressure distribution help control fluid movement.
NOK explains that oil seals combine lubrication and sealing mechanisms: the contact zone must maintain enough lubrication to control friction and wear while retaining the ability to prevent fluid from escaping.
This balance explains why excessive friction, insufficient lubrication, contamination, poor shaft finish, incorrect pressure, or the wrong seal material can all contribute to leakage.
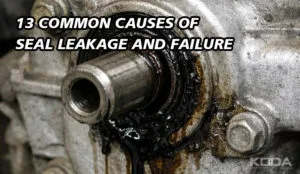
The 13 Most Common Causes of Seal Leakage and Failure
The following failure modes cover many of the problems encountered in automotive, industrial, hydraulic, pneumatic, agricultural, construction, and rotating-equipment applications.
Quick diagnostic categories:
- Installation and assembly errors
- Shaft and housing problems
- Temperature and pressure
- Lubrication and contamination
- Material compatibility
- Equipment movement and alignment
- Normal wear and aging
1. Incorrect Seal Installation
Improper installation is one of the easiest causes of seal failure to overlook. A seal can be manufactured correctly and still leak immediately if it is installed at the wrong angle, depth, orientation, or position.
Typical installation-related problems include a cocked seal, damaged lip, distorted outer diameter, incorrect installation depth, excessive insertion force, or an improperly selected installation tool.
For rotary seals, the sealing lip can also be damaged while passing over a keyway, spline, thread, sharp shaft edge, or damaged surface.
How to prevent it
- Verify seal orientation before installation.
- Use the specified installation depth.
- Use a suitable press or installation mandrel.
- Protect the lip from splines, keyways, and sharp edges.
- Do not force the seal into a damaged housing.
- Inspect the seal before installation.
Practical check: If a new seal leaks immediately after installation, investigate installation damage before assuming that the seal material or design is defective.
2. Worn, Grooved, or Damaged Shaft
The shaft is part of the sealing system. Even a high-quality seal cannot compensate indefinitely for a badly worn sealing surface.
Continuous lip contact can gradually create a wear groove on the shaft. Scratches, corrosion, pitting, burrs, or excessive surface roughness can also prevent the sealing lip from maintaining a stable contact zone.
When a replacement seal is installed over the same worn area, the new lip may follow the existing groove rather than establishing a fresh sealing interface.
Recommended inspection
- Check the shaft diameter.
- Inspect for circumferential grooves.
- Look for scratches and corrosion.
- Check surface roughness where required.
- Measure shaft runout.
- Inspect the lip contact track.
If the shaft is severely damaged, replacing only the seal may not provide a durable repair.
3. Excessive Shaft Runout or Eccentricity
A sealing lip needs to follow the rotating shaft while maintaining sufficient contact. Excessive shaft eccentricity can create a dynamic gap that the lip cannot follow.
This is particularly important in high-speed rotating equipment.
Potential causes include worn bearings, shaft misalignment, manufacturing tolerances, bent shafts, or incorrect assembly.
KODA notes that excessive shaft eccentricity can prevent the lip from following shaft movement and create a dynamic clearance through which fluid can escape.
Do not blame the seal too quickly
If a new seal repeatedly fails at the same location, inspect the bearing and shaft alignment before installing another seal.
4. Excessive Operating Temperature
Heat accelerates elastomer aging and can change the mechanical properties of the sealing material.
Excessive temperature may cause hardening, cracking, loss of elasticity, or accelerated wear. It can also increase lubricant degradation and friction at the sealing interface.
Common sources include inadequate cooling, insufficient lubrication, excessive shaft speed, high ambient temperature, excessive friction, or an application that exceeds the seal’s temperature capability.
KODA’s troubleshooting information associates excessive temperature with lip hardening and heat-related damage.
Corrective actions
- Measure actual operating temperature instead of relying only on the nominal machine temperature.
- Check whether lubrication is sufficient.
- Inspect the shaft and lip for heat damage.
- Verify the elastomer’s temperature capability.
- Investigate abnormal friction or shaft speed.
5. Excessive Internal Pressure
Many standard oil seals are designed primarily for applications with limited pressure. If internal pressure becomes excessive, the sealing lip may deform, reverse, extrude, or suffer mechanical damage.
Pressure can increase because of blocked breathers, thermal expansion, excessive fluid volume, system malfunction, or an application that requires a pressure-rated seal.
KODA identifies excessive internal pressure as a cause of lip wear, lip hardening, lip damage, and other leakage conditions. Its technical guidance recommends controlling pressure or using an appropriate pressure-resistant seal design when required.
Important: If a standard rotary seal is being used in a pressurized application, changing the rubber compound alone may not solve the problem. The seal geometry and pressure-management design may also need to be reviewed.
6. Insufficient Lubrication
A seal lip needs controlled lubrication at the sliding interface. Too little lubricant can increase friction, temperature, and wear.
Once the lip begins operating with excessive friction, the resulting heat can accelerate material degradation and eventually create leakage.
KODA describes a thin lubricant film between the lip and rotating shaft as an important part of the lubrication mechanism. The film helps reduce direct contact and wear at the sliding interface.
Possible causes of poor lubrication
- Low lubricant level
- Incorrect lubricant viscosity
- Blocked oil passages
- Insufficient lubricant reaching the seal lip
- Incorrect initial lubrication
- Excessive shaft speed
A seal that shows a burned, glazed, hardened, or severely worn lip should be evaluated for lubrication-related overheating.
7. Contamination by Dust, Dirt, or Metal Particles
External contamination is especially damaging in agricultural machinery, construction equipment, off-road vehicles, mining equipment, and other environments where dust, mud, water, and abrasive particles are present.
Particles entering the sealing interface can damage the lip or create a microscopic leakage path.
Internal metal particles can create similar problems. KODA reports that fine iron particles generated inside equipment can become trapped at the lip and create leakage even when obvious lip damage is not visible.
Prevention methods
- Use an appropriate dust lip or contamination-resistant design.
- Keep the assembly environment clean.
- Flush contaminated lubricants where necessary.
- Investigate abnormal internal wear generating metal particles.
- Use a seal design appropriate for the environmental conditions.
8. Incorrect Seal Material
Not every elastomer is suitable for every fluid, temperature, pressure, or environment.
A seal may appear dimensionally correct but fail because its compound is incompatible with the operating medium.
| Material | Typical Characteristics | Selection Consideration |
|---|---|---|
| NBR | Common oil-resistant elastomer | Check temperature, fluid and ozone exposure |
| FKM | Good resistance to many oils and elevated temperatures | Low-temperature performance and exact compound matter |
| ACM | Used in selected automotive oil-sealing environments | Verify compatibility with the specific fluid and temperature |
| Silicone | Useful for selected high/low-temperature applications | Mechanical strength and fluid compatibility must be considered |
Material selection should therefore be based on the actual application rather than assuming that a more expensive elastomer is automatically better.
9. Incorrect Shaft Surface Finish
Surface finish affects the interaction between the shaft and sealing lip.
A shaft that is excessively rough can accelerate lip wear. A surface that is damaged, grooved, or otherwise unsuitable can prevent stable sealing.
At the same time, surface finish should not be evaluated independently from shaft material, seal material, lubricant, speed, and application requirements.
SKF’s seal failure guidance also identifies excessive shaft surface roughness as a potential contributor to premature seal wear.
10. Seal Lip Damage During Handling
A sealing lip can be damaged before the machine ever starts operating.
Common examples include cuts from tools, scratches from sharp shaft edges, damage from splines or keyways, deformation caused by incorrect storage, or careless handling.
The damage may be too small to notice during a quick visual inspection but large enough to create a leakage path once the shaft rotates.
KODA identifies installation tools, shaft defects, splines, keyways, packaging, and handling as possible sources of lip damage.
Better practice
- Keep seals in their original protective packaging until needed.
- Do not place seals on dirty surfaces.
- Avoid sharp tools near the sealing lip.
- Protect splines and keyways during installation.
- Inspect the lip before assembly.
11. Incorrect Seal Orientation or Installation Direction
A rotary seal is not always symmetrical. The sealing lip, dust lip, spring, and internal geometry may be designed for a specific fluid direction or pressure environment.
Installing a seal in the wrong direction can prevent the lip from performing its intended sealing function.
KODA specifically lists reversed installation and incorrect sealing direction among leakage causes.
Before installation, compare the new seal with the original component and confirm which side faces the sealed fluid.
12. Seal Aging and Elastomer Degradation
Even a correctly selected and installed seal has a finite service life.
Elastomers can gradually change due to heat, oxygen, ozone, chemicals, compression, cyclic movement, and long-term exposure to the operating environment.
Typical aging symptoms include:
- Hardening
- Cracking
- Loss of elasticity
- Surface deterioration
- Permanent deformation
- Increased wear
When an old seal is removed, comparing its physical condition with the new component can provide valuable evidence about the failure mechanism.
13. The Seal Is Not the Actual Source of the Leak
This is one of the most important points in seal troubleshooting.
Oil around a seal does not automatically prove that the seal is leaking.
Fluid may originate from a nearby gasket, housing joint, cracked cover, porous casting, loose fastener, breather, or another sealing component before flowing toward the oil seal.
KODA specifically documents several examples of leakage that can be incorrectly attributed to an oil seal, including leaks from mating surfaces, housing cracks or porosity, assembly lubricant, and residual oil around the seal.
Always identify the leak origin first.
Clean the area, operate the equipment under controlled conditions where safe, and trace the first point at which fresh fluid appears. This simple step can prevent unnecessary seal replacement.
Seal Failure Diagnosis: A Practical Step-by-Step Method
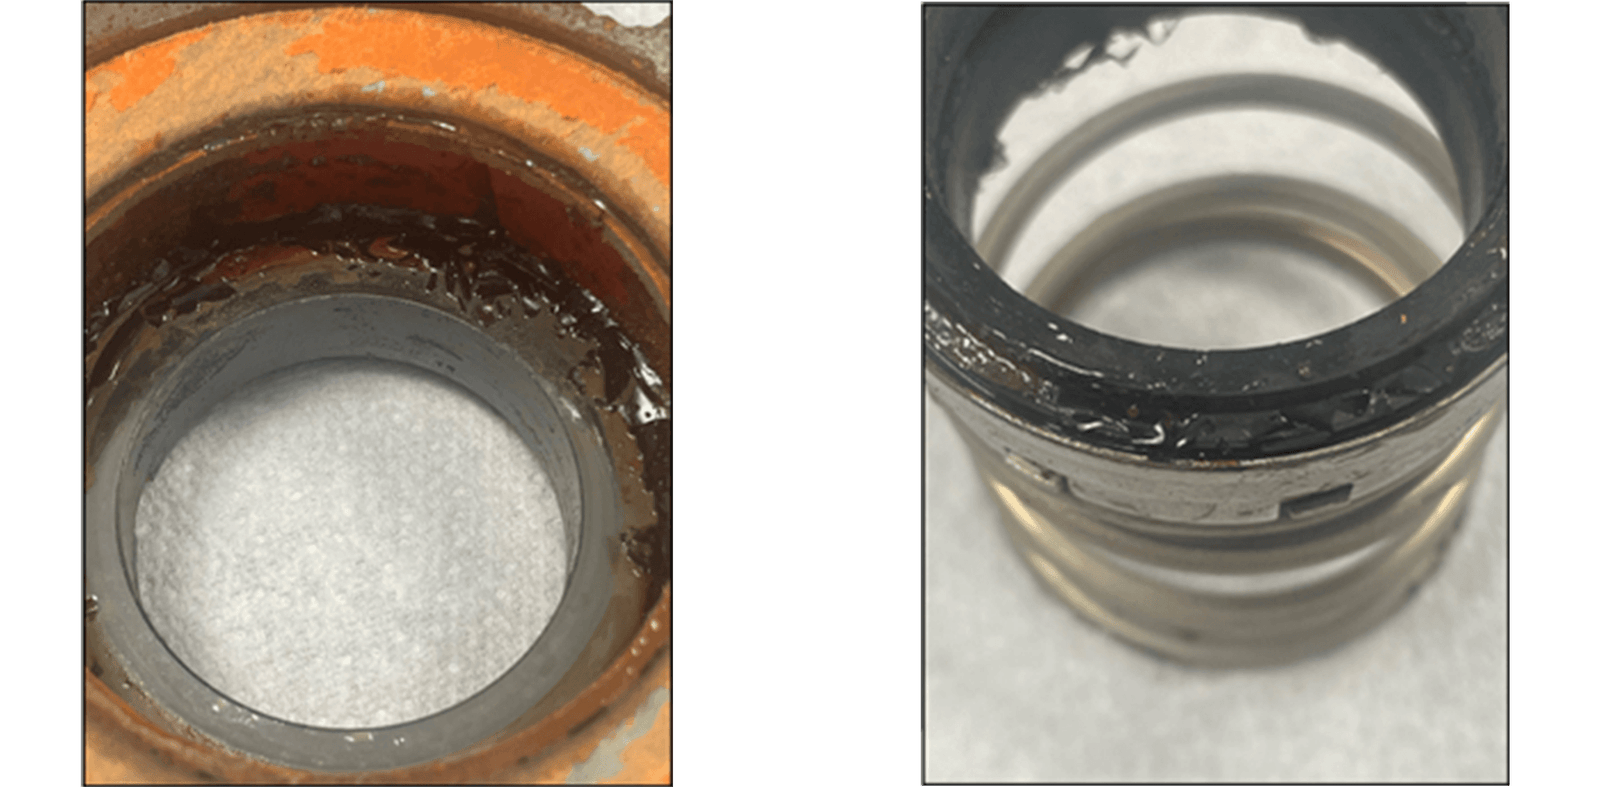
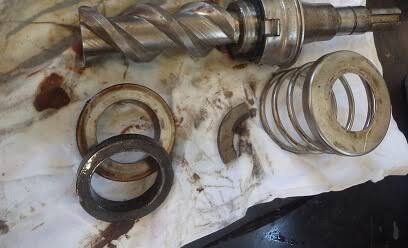
When a seal fails, the damaged component should be treated as evidence rather than immediately discarded.
Step 1 — Confirm the Leak Source
Clean the surrounding area and determine where fresh fluid originates.
Step 2 — Record the Operating Conditions
- Operating temperature
- Pressure
- Shaft speed
- Lubricant type
- Operating hours
- Environmental contamination
Step 3 — Inspect the Removed Seal
Look for cuts, uneven wear, hardening, cracking, deformation, foreign particles, spring displacement, and abnormal lip wear.
Step 4 — Inspect the Shaft
Measure the shaft and inspect the lip contact track for grooves, scratches, corrosion, excessive roughness, or eccentricity.
Step 5 — Inspect the Housing
Check bore dimensions, surface condition, installation depth, damage, and press-fit condition.
Step 6 — Compare the Failure Pattern
The location and appearance of wear often provide more information than the fact that leakage occurred.
Examples:
- Uneven lip wear: investigate eccentricity, alignment, or cocked installation.
- Cut lip: investigate installation damage or sharp shaft features.
- Hardened lip: investigate excessive temperature or unsuitable material.
- Worn lip: investigate lubrication, contamination, surface finish, and service life.
- Damaged outer diameter: investigate housing dimensions and installation tooling.
- Seal appears normal: investigate another leak source or shaft/housing condition.
Why Replacing the Seal Does Not Always Fix the Problem
A new seal only changes one component of the sealing system.
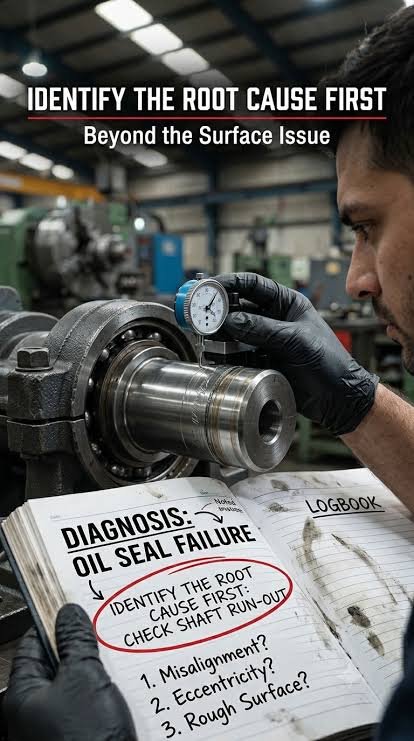
If the shaft remains grooved, the housing remains damaged, internal pressure remains excessive, or the equipment continues to generate abnormal eccentricity, the new seal may experience exactly the same failure conditions.
This is why professional seal troubleshooting should focus on root-cause correction rather than repeated component replacement.
Seal Leakage Prevention Checklist
- Choose the correct seal design for the application.
- Confirm elastomer compatibility with the fluid.
- Verify temperature and pressure limits.
- Inspect shaft diameter and surface condition.
- Check shaft runout and alignment.
- Verify housing dimensions.
- Keep components clean during installation.
- Protect the sealing lip from sharp edges.
- Use correct installation tools.
- Provide suitable initial lubrication where required.
- Monitor lubricant condition.
- Investigate contamination sources.
- Inspect failed seals rather than discarding them immediately.
Oil Seal Leakage vs. Seal Failure
Leakage and seal failure are related but should not always be treated as identical terms.
A seal may be physically damaged and leak, but leakage can also occur because the surrounding equipment has conditions outside the seal’s intended operating range.
Conversely, a seal may show wear without producing a significant external leak during the initial stage.
A useful maintenance strategy therefore combines visual inspection, dimensional inspection, operating data, and failure-pattern analysis.
Frequently Asked Questions About Seal Leakage
Why does my new oil seal leak?
Common possibilities include incorrect installation, damaged sealing lips, shaft wear, excessive shaft runout, incorrect material, insufficient lubrication, excessive temperature, or leakage from another nearby component.
Can a rough shaft cause oil seal leakage?
Yes. Excessive shaft roughness can accelerate lip wear and make it difficult to maintain a stable sealing interface. Shaft damage and grooves can create similar problems.
Does high pressure damage oil seals?
It can. If pressure exceeds the capability of the seal design, the lip may deform, wear, or fail. The pressure rating and seal geometry should therefore be considered during selection.
Can contamination cause seal failure?
Yes. Dust, dirt, water, and metal particles can damage the sealing interface or create leakage paths. Contamination resistance should be considered when selecting seals for harsh environments.
How can I tell whether the oil seal is really leaking?
Clean the surrounding area first and trace the appearance of fresh fluid. Nearby gaskets, housing joints, cracks, breather systems, and residual assembly lubricant can sometimes be mistaken for seal leakage.
Should I replace the shaft when replacing an oil seal?
Not necessarily. The shaft should first be inspected. If the sealing track has severe grooves, scratches, corrosion, or dimensional problems, shaft repair or replacement may be necessary to achieve reliable sealing.
Final Thoughts: Diagnose the System, Not Just the Seal
Seal leakage is usually a symptom rather than a complete diagnosis. The actual cause may be hidden in the shaft surface, housing geometry, lubricant, temperature, pressure, contamination, installation method, or equipment alignment.
The most effective troubleshooting process starts by confirming the leak source and then examining the physical evidence left on the failed seal.
For critical applications, selecting the right seal should involve more than matching an outside diameter. The seal profile, elastomer compound, shaft condition, pressure, temperature, speed, lubricant, contamination level, and installation method all contribute to long-term performance.
For a technical seal replacement inquiry, provide:
Seal type + dimensions + application + shaft diameter + speed + pressure + operating temperature + fluid/lubricant + environmental conditions.
Providing complete operating information allows a sealing supplier or engineer to evaluate the application more accurately and reduce the risk of repeating the original failure.