
Replacing valve stem seals is a repair that can make a significant difference to engine oil consumption, exhaust emissions, and long-term reliability. Although these components are small, their function is critical: they regulate the amount of oil that lubricates the valve stems while preventing excessive oil from entering the combustion chambers. When the seals deteriorate, drivers may notice blue exhaust smoke, unexplained oil loss, spark plug fouling, or deposits inside the engine.
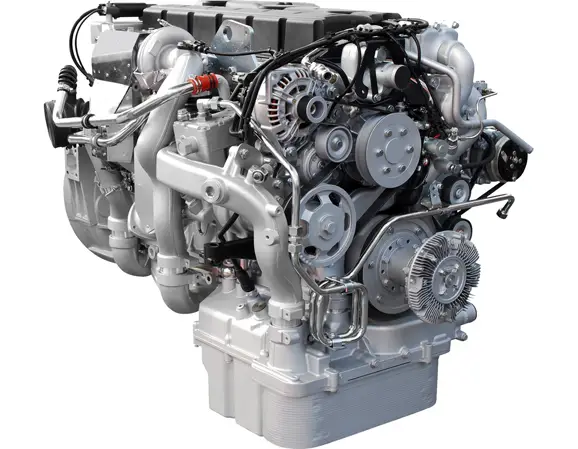
The total cost of valve stem seal replacement depends on much more than the price of the replacement parts. Engine configuration, cylinder head accessibility, labor rates, valve guide condition, and the manufacturer’s repair procedure all influence the final bill. A straightforward repair may cost several hundred dollars, while a complex engine requiring extensive disassembly can exceed $2,000.
For vehicle owners, the most effective way to control repair costs is to confirm the source of oil consumption before authorizing work. For repair shops and automotive parts buyers, understanding seal design, material compatibility, installation requirements, and failure mechanisms helps ensure that replacement parts deliver reliable performance.
Understanding Valve Stem Seal Replacement Costs
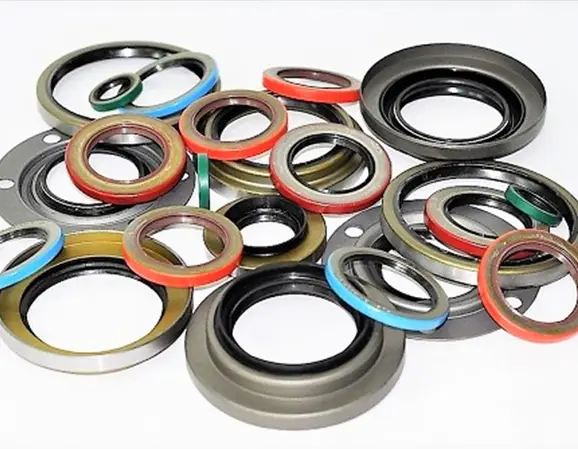
Valve stem seals are installed around the valve stems inside the cylinder head. They regulate oil movement along the valve stems and valve guides, providing sufficient lubrication without allowing excessive oil into the intake or exhaust ports. Because they operate under repeated thermal cycles and continuous mechanical movement, their materials must maintain the correct elasticity, dimensional stability, and oil resistance throughout their service life.
When a seal hardens, cracks, loses its interference fit, or becomes damaged during installation, oil control can deteriorate. The resulting symptoms may be mistaken for worn piston rings, turbocharger problems, or crankcase ventilation faults. An accurate diagnosis is therefore essential before replacing any engine sealing component.
Key cost considerations
Replacement seal kit: A preliminary budgeting allowance of approximately $30–$150 is reasonable for many conventional applications, although specialist and manufacturer-specific sets can cost more.
Labor: Labor can range from several hundred dollars to more than $1,500 when access is difficult or extensive valve-train disassembly is necessary.
Additional parts: Valve cover gaskets, intake gaskets, timing-related components, fasteners, fluids, and other disturbed seals may increase the total.
Important: These are illustrative estimates in US dollars, not a verified national average or a quote for a specific vehicle. Confirm the engine code, local labor rate, and required repair procedure before budgeting.
Typical Replacement Cost by Engine Configuration
The following ranges illustrate how the repair scope can affect the overall cost. They are planning examples rather than fixed prices. The same engine configuration can produce different estimates depending on the manufacturer’s design and the repair method used.
| Vehicle or repair type | Illustrative total | Main consideration |
|---|---|---|
| Accessible four-cylinder engine | $300–$800 | Relatively limited disassembly |
| Modern overhead-camshaft engine | $500–$1,500 | Camshaft access and timing procedures |
| Restricted-access V6 or V8 | $800–$2,000+ | Multiple cylinder banks and additional labor |
| Cylinder head removal and additional repairs | $1,500–$3,000+ | Head removal, inspection, machining, and reassembly |
Engine layout is only one part of the calculation. Some engines allow technicians to replace the seals with the cylinder head installed, while others require more extensive disassembly. If the valve guides are worn or the cylinder head has additional mechanical damage, the repair may involve more than replacing the seals.
When comparing quotations, make sure each estimate covers the same work. A low quote that excludes diagnostic testing, replacement gaskets, or necessary timing-system work may not be less expensive once the repair is completed.
Why Valve Stem Seals Are Important to Engine Performance
Valve stem seals are not designed to eliminate every trace of oil around the valve stems. Their purpose is to regulate oil flow so that the moving stem and guide receive adequate lubrication without excessive oil entering the combustion chamber.
Fel-Pro explains that insufficient lubrication can accelerate valve stem and guide wear, while excessive oil can contribute to carbon deposits, valve seat damage, increased emissions, catalytic converter deterioration, and excessive oil consumption. These competing requirements make seal design and material selection important to engine durability.
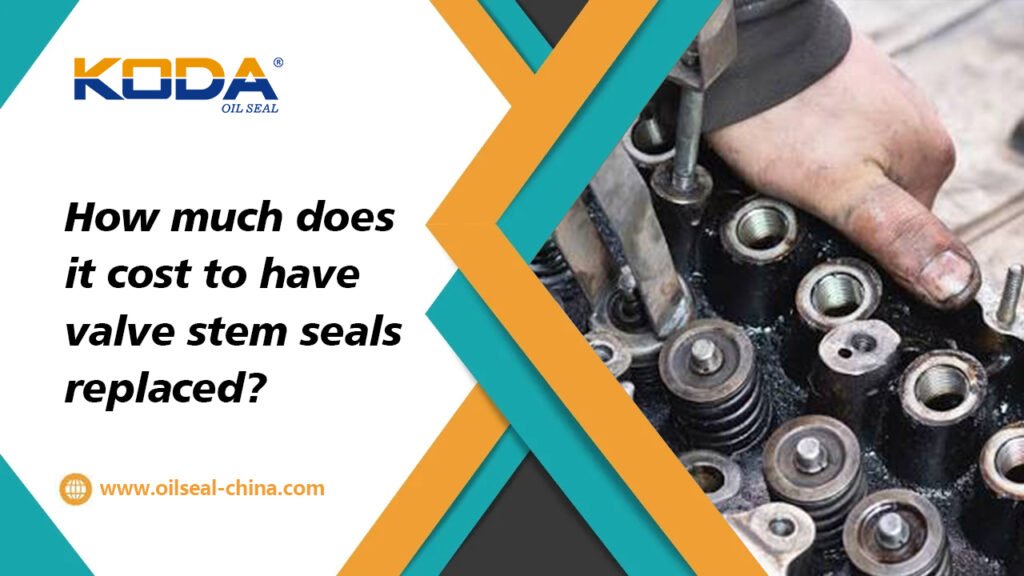
 Valve stem seal installation requires correct positioning and protection of the sealing lip. Image reference
Valve stem seals must tolerate repeated valve movement, hot engine oil, temperature fluctuations, and exposure to combustion-related contaminants. Depending on the original design, they may use positive-seal, deflector, or other application-specific configurations.
Positive Seals and Deflector Seals
Positive valve stem seals attach to the valve guide boss and regulate oil as the valve stem moves through the seal. They are widely used in modern engines because their design provides controlled oil metering.
Deflector seals, often called umbrella seals, are secured to the valve stem and move with the valve. Their shape helps deflect excess oil away from the guide area.
Some engines use other seal arrangements, including O-ring designs. The correct configuration depends on the engine’s original engineering requirements. Replacing a seal with a visually similar but incompatible design can cause poor oil control or installation problems.
For this reason, replacement parts should be selected using the vehicle identification number, engine code, manufacturer specifications, and any applicable technical service information rather than dimensions alone.
Common Symptoms of Worn Valve Stem Seals
Recognizing the symptoms of seal deterioration can help drivers decide when to arrange an inspection. However, the symptoms are not exclusive to valve stem seals. A qualified technician should evaluate the complete pattern of evidence before recommending replacement.
Blue Smoke After a Cold Start
A brief puff of blue or blue-gray smoke after an engine has been parked for several hours can indicate that oil has passed through the valve stem sealing area while the engine was not running. When the engine starts, the accumulated oil burns in the combustion chamber and exits through the exhaust.
If the smoke disappears quickly, valve stem seals are one possible cause. Oil entering through a turbocharger or crankcase ventilation system can produce similar symptoms, so the timing of the smoke should be considered alongside other findings.
Smoke After Extended Idling or Deceleration
Some engines emit blue smoke after prolonged idling or after the throttle is closed during deceleration. Intake manifold vacuum and oil distribution within the cylinder head can influence how much oil passes into the combustion chamber under these conditions.
This pattern can support a diagnosis of valve stem seal leakage, but it is not definitive. The technician should also consider valve guide clearance, crankcase ventilation, turbocharger condition where applicable, and other sources of oil entry.
Increasing Oil Consumption
When engine oil burns inside the cylinders, the oil level may fall without producing visible puddles underneath the vehicle. Drivers may need to add oil more frequently or discover that the level has dropped substantially between scheduled services.
Monitor consumption by recording the distance traveled, oil level, and quantity added. Check the level on a level surface using the procedure in the owner’s manual. Compare the results with the manufacturer’s guidance for the specific engine.
Oil consumption can also result from worn piston rings, cylinder wear, external leaks, a defective PCV system, or a leaking turbocharger. Replacing valve stem seals without identifying the actual source may fail to resolve the problem.
Spark Plug Fouling and Engine Misfires
Excess oil entering the combustion chamber can contribute to deposits on spark plugs and may lead to misfires. A technician may discover oil-related fouling, uneven combustion, or diagnostic trouble codes during inspection.
These findings should be interpreted carefully because ignition faults, fuel mixture problems, coolant intrusion, and other mechanical issues can also cause misfires. A fault code alone does not prove that valve stem seals are defective.
Increased Emissions and Catalytic Converter Damage
Burning engine oil can increase deposits in the exhaust system and place additional stress on emissions-control components. Continued oil contamination may damage the catalytic converter or affect oxygen sensor operation, potentially creating additional repair costs.
Persistent blue exhaust smoke should not be ignored. If the oil level drops rapidly, the oil-pressure warning appears, or the engine develops severe misfires or unusual mechanical noise, stop driving when safe and arrange professional assistance.
 Valve stem seal condition should be assessed during inspection; visible deterioration alone does not replace a complete engine diagnosis.
What Causes Valve Stem Seals to Fail?
Valve stem seals operate under demanding conditions. Their service life depends on material quality, operating temperature, lubrication, valve guide condition, installation accuracy, and the overall maintenance history of the engine.
- Heat and aging: Repeated thermal cycling can harden elastomers and reduce their ability to maintain a consistent sealing interface.
- Material incompatibility: An unsuitable elastomer may not withstand the temperature and oil chemistry of the intended application.
- Valve guide wear: Excessive clearance can allow abnormal valve movement and interfere with effective oil control.
- Installation damage: Sharp edges or valve keeper grooves can damage the seal lip during installation if the appropriate protective sleeve or installation tool is not used.
- Incorrect seating: A seal installed at the wrong depth or with the wrong tool may not remain properly secured to the valve guide.
- Contamination and maintenance issues: Deposits, unsuitable lubricants, or poor maintenance can contribute to broader engine wear and may complicate diagnosis.
Not every failed seal is caused by poor manufacturing. A correctly specified seal can fail prematurely if the guide is worn, the valve stem is damaged, the part is installed incorrectly, or the engine operates outside its intended conditions.
How Mechanics Diagnose Valve Stem Seal Problems
A reliable diagnosis combines symptom history, visual inspection, and appropriate mechanical testing. The purpose is to determine whether the seals are the primary cause of oil consumption or whether another fault is responsible.
Step 1: Confirm the Oil Consumption Pattern
The technician should review the oil level, service history, and the quantity of oil added between services. The engine should also be checked for external leaks around the valve covers, oil filter housing, crankshaft seals, and other potential leak points.
Oil leaking onto hot exhaust components can produce smoke in the engine compartment. This differs from blue smoke exiting the tailpipe because engine oil is burning inside the cylinders.
Step 2: Inspect the PCV System
The positive crankcase ventilation system helps manage crankcase gases and pressure. A malfunctioning PCV valve, restricted breather, or defective oil separator can contribute to excessive oil carryover into the intake.
Checking the ventilation system before extensive valve-train disassembly can help avoid unnecessary work. The appropriate test depends on the engine’s ventilation design.
Step 3: Evaluate Compression and Cylinder Leakage
A compression test measures the pressure produced in each cylinder during cranking. A cylinder leak-down test introduces compressed air into the cylinder to help identify where pressure escapes.
Valve stem seals primarily control oil movement; they do not form the main combustion-pressure seal. An engine can therefore have defective valve stem seals while maintaining normal compression. Conversely, low compression may indicate worn piston rings, damaged valves, or other mechanical faults.
Compression and leak-down results should be used as part of a broader diagnosis rather than treated as direct proof of valve stem seal failure.
Step 4: Inspect Valve Guides and Seals
If the initial findings support a valve stem sealing problem, the technician may need to inspect the seals and measure valve guide clearance according to the manufacturer’s specifications.
Worn guides can allow excessive valve movement and oil leakage even after new seals have been fitted. Fel-Pro’s technical guidance notes that replacing seals while leaving out-of-specification valve guides uncorrected may provide only a temporary solution to oil consumption.
For additional technical guidance, consult Fel-Pro’s valve stem seal removal and installation guide.
What Determines the Final Repair Bill?
Engine Accessibility and Labor Time
Labor is frequently the largest component of valve stem seal replacement. Depending on the engine, a technician may need to remove ignition components, valve covers, camshafts, timing components, intake parts, or other equipment before reaching the seals.
A V-engine may require work on two cylinder banks, while a compact engine can still be labor-intensive if access is restricted. Variable valve timing systems and complex overhead-camshaft layouts may require careful disassembly and precise timing alignment.
Ask the repair facility how many labor hours are included and whether the estimate is based on the manufacturer’s procedure. This makes it easier to distinguish a reasonable quote from one that excludes essential work.
Replacing Seals With the Cylinder Head Installed
Some engines permit seal replacement without removing the cylinder head. Depending on the approved procedure, the technician may use compressed air or another suitable method to support the valves while the valve springs are removed.
This approach can reduce labor and avoid some of the additional gaskets and fluids required when the cylinder head is removed. However, it is only appropriate when the engine design and condition permit it.
Valve springs store considerable mechanical energy, and a valve that drops into the cylinder can create additional work. Correct tools, technical information, and safe working procedures are essential.
Cylinder Head Removal and Machine-Shop Work
If access is restricted, valve guides are worn, or the cylinder head requires further inspection, removal may be necessary. The work can involve disconnecting intake and exhaust components, removing timing hardware, releasing the cylinder head, and replacing specified gaskets and fasteners during reassembly.
A machine shop may need to inspect the guides, valve stems, seats, and head surface. Any additional machining should be supported by inspection findings rather than recommended automatically for every seal replacement.
When comparing quotes, ask whether cylinder head removal is essential for the specific engine or whether an approved in-place method is available.
Replacement Parts and Additional Components
The final estimate may include more than the seals themselves. Depending on the repair procedure, the technician may need valve cover gaskets, spark plug tube seals, intake gaskets, timing components, single-use fasteners, engine oil, coolant, or other consumables.
Request an itemized estimate that separates the seal kit, other parts, labor, diagnostic charges, and taxes. If the shop recommends additional components after disassembly, ask for the reason, inspection findings, and any available photographs.
The Valve Stem Seal Replacement Process
The exact repair procedure varies by engine manufacturer. A professional service normally includes preparation, access to the valve train, removal of the old seals, installation of the correct replacement components, and final operational checks.
- Confirm the repair scope: Verify the engine identification, symptoms, required parts, and manufacturer’s service instructions.
- Prepare the vehicle: Follow the prescribed cooling, shutdown, battery-isolation, and component-removal procedures.
- Access the valve train: Remove the necessary covers and related components while preserving timing references and organizing fasteners.
- Support the valves: Use the approved method to prevent the valves from falling into the cylinders during spring removal.
- Remove the valve springs: Use a suitable spring compressor and follow the specified procedure for retainers and keepers.
- Inspect the old seals and guides: Look for damage, hardening, incorrect seating, and evidence of excessive guide clearance.
- Install the new seals: Use the correct part and installation tool to protect the sealing lip and seat each seal to the specified depth.
- Reassemble the valve train: Restore components, apply lubrication where specified, and tighten fasteners to the required torque values.
- Verify engine operation: Confirm timing where applicable, check fluid levels, inspect for leaks, and verify that the engine operates normally.
 Specialized tools help technicians remove and install valve stem seals while protecting nearby valve-train components.
Improper installation can damage a new seal before the engine returns to service. A seal lip may be cut by a sharp stem edge, while incorrect seating can compromise oil control or allow the seal to loosen. Following the manufacturer’s installation instructions is essential for dependable results.
How Long Does Valve Stem Seal Replacement Take?
Repair time depends on engine access, the number of components that must be removed, the availability of parts, and whether additional damage is discovered. Some repairs can be completed within a working day, while complex procedures or cylinder head machining may require several days of vehicle downtime.
It is useful to distinguish the quoted labor hours from the total time the vehicle remains at the shop. A repair estimated at several labor hours may still require a longer turnaround because of scheduling, diagnostic work, parts delivery, or outsourced machining.
Ask the repair facility for the estimated labor allowance and expected completion date. If the estimate assumes that no additional damage will be found, request clarification on how any change in scope will be approved.
How to Reduce Replacement Costs Without Sacrificing Quality
Compare Complete, Itemized Quotes
Obtain written estimates from more than one qualified repair facility when practical. Confirm that each estimate includes the same seal replacement scope, required gaskets, labor operations, diagnostic work, and warranty terms.
The lowest initial quote is not always the lowest final cost. A quote that excludes necessary parts or assumes an unrealistic labor allowance can become more expensive once the vehicle has been disassembled.
Choose Correctly Specified Seals
Use the engine manufacturer’s part information or a reputable supplier’s verified application data to select the replacement seals. Confirm the valve stem diameter, guide dimensions, design, material requirements, and installation method.
Seal materials can include nitrile rubber, polyacrylate, fluoroelastomer, and other engineered compounds, depending on the application. Their heat resistance, oil compatibility, elasticity, and resistance to mechanical damage vary. No single material is automatically the best choice for every engine.
For automotive parts manufacturers and wholesale buyers, useful supplier evaluation criteria include dimensional consistency, material traceability, application verification, production quality controls, and documented inspection procedures.
Avoid Unnecessary Cylinder Head Work
Ask whether the manufacturer’s procedure permits in-place seal replacement and whether the existing valve guides are within specification. If the head must be removed, the shop should explain the technical reason and identify any additional repairs supported by inspection findings.
Do not avoid necessary cylinder head work simply to reduce the initial price. If the guides are badly worn, replacing seals alone may leave the underlying cause unresolved and result in repeat labor.
Maintain the Engine Correctly
Use engine oil that meets the manufacturer’s viscosity and performance requirements. Follow the recommended oil and filter service schedule, monitor oil level, and address overheating or crankcase ventilation problems promptly.
Good maintenance can reduce avoidable engine wear, but it cannot reverse an already hardened seal or restore a worn valve guide. When oil consumption increases, diagnosis remains the most effective way to avoid unnecessary spending.
Is Valve Stem Seal Replacement Worth the Money?
Replacing defective valve stem seals can be worthwhile when the rest of the engine remains mechanically sound. A successful repair may reduce oil consumption, improve exhaust cleanliness, limit spark plug fouling, and help protect emissions-control components from prolonged oil contamination.
The decision requires more careful consideration when the engine has high mileage, poor compression, excessive guide wear, or multiple unrelated faults. In such circumstances, the owner should compare the total repair estimate with the vehicle’s value, expected remaining service life, and the cost of alternative transportation.
Before authorizing the work, ask the mechanic what evidence supports the diagnosis and what outcome is reasonably expected. If the engine has additional wear, determine whether the proposed repair addresses the main cause of oil consumption or only one contributing factor.
Before approving the repair, confirm these five points
1. The source of oil consumption has been investigated.
2. The replacement method is suitable for the exact engine.
3. Valve guide condition and additional mechanical faults have been considered.
4. The written estimate includes required parts, labor, and applicable taxes.
5. The repair warranty and procedure for approving additional work are clear.
Technical Resources for Further Reading
For accurate repair decisions, vehicle-specific manufacturer service information should take priority over generic online instructions. The following resources provide additional information about valve stem seal design, installation, engine symptoms, and automotive engineering.
- Fel-Pro: Inside Valve Stem Seals — explains the role of valve stem seals, the difference between positive and deflector designs, and the importance of controlled lubrication.
- Fel-Pro: How to Remove and Install Valve Stem Seals — provides practical information about seal removal, installation tools, and valve guide inspection.
- Fel-Pro: Valve Stem Seal Technical Information — discusses seal designs, material considerations, and the relationship between sealing and emissions control.
- AA1Car: Diagnosing Engine Exhaust Smoke — describes possible causes of blue exhaust smoke and the importance of distinguishing oil burning from other conditions.
- National Highway Traffic Safety Administration (NHTSA) — provides vehicle information and access to relevant safety and recall resources.
- SAE International — offers automotive engineering standards and technical publications for industry professionals.
Online references provide general technical background, but actual repair procedures, allowable clearances, torque values, and parts specifications must be verified for the specific engine. Cost estimates should be confirmed with a qualified repair facility using current local labor rates and the correct vehicle information.
Frequently Asked Questions
How much does it cost to have valve stem seals replaced?
Many passenger-vehicle repairs fall within an illustrative range of $300–$1,500, while complex engines or repairs requiring cylinder head removal may exceed $2,000. The actual price depends on engine accessibility, labor rates, replacement parts, and any additional valve-train or cylinder-head work.
Can I drive with worn valve stem seals?
Continued driving may be possible in some cases, but it depends on the severity of oil consumption and the engine’s condition. Monitor the oil level and arrange a professional diagnosis. Stop driving when safe if the oil-pressure warning appears, the engine develops severe misfires, or the oil level falls dangerously low.
Can valve stem seals be replaced without removing the cylinder head?
Yes, some engines permit in-place replacement using an approved valve-support method and suitable spring-compression tools. Other engines require more extensive disassembly. If the valve guides are worn or the cylinder head has additional damage, removal may be necessary for a reliable repair.
How can I distinguish bad valve stem seals from worn piston rings?
Blue smoke after starting, extended idling, or certain deceleration conditions can be consistent with valve stem seal leakage. However, worn piston rings, cylinder damage, PCV faults, and turbocharger problems can cause similar oil consumption. A technician should combine symptom analysis with appropriate inspection and mechanical testing rather than relying on smoke alone.
Do all valve stem seals need to be replaced at the same time?
Replacing the complete set is generally practical when multiple seals have aged similarly and accessing individual seals requires substantial labor. The correct scope depends on the manufacturer’s procedure and inspection findings. Using the correct application-specific seal kit and checking valve guide condition help reduce the risk of repeat repairs.