
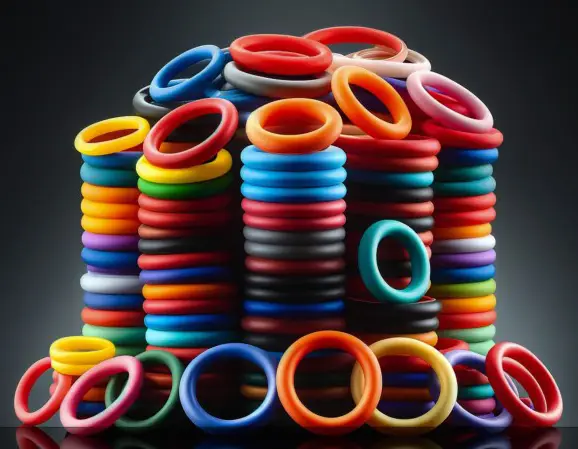
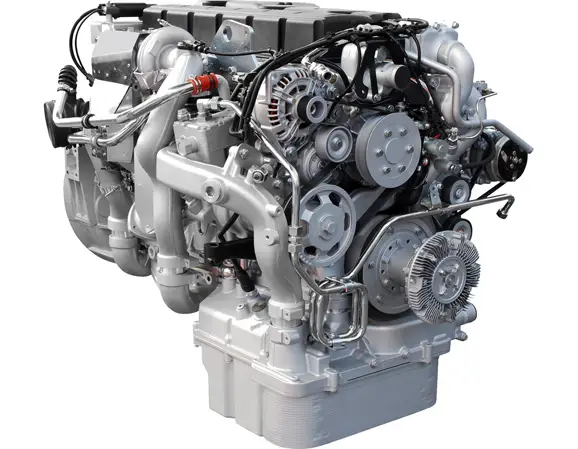
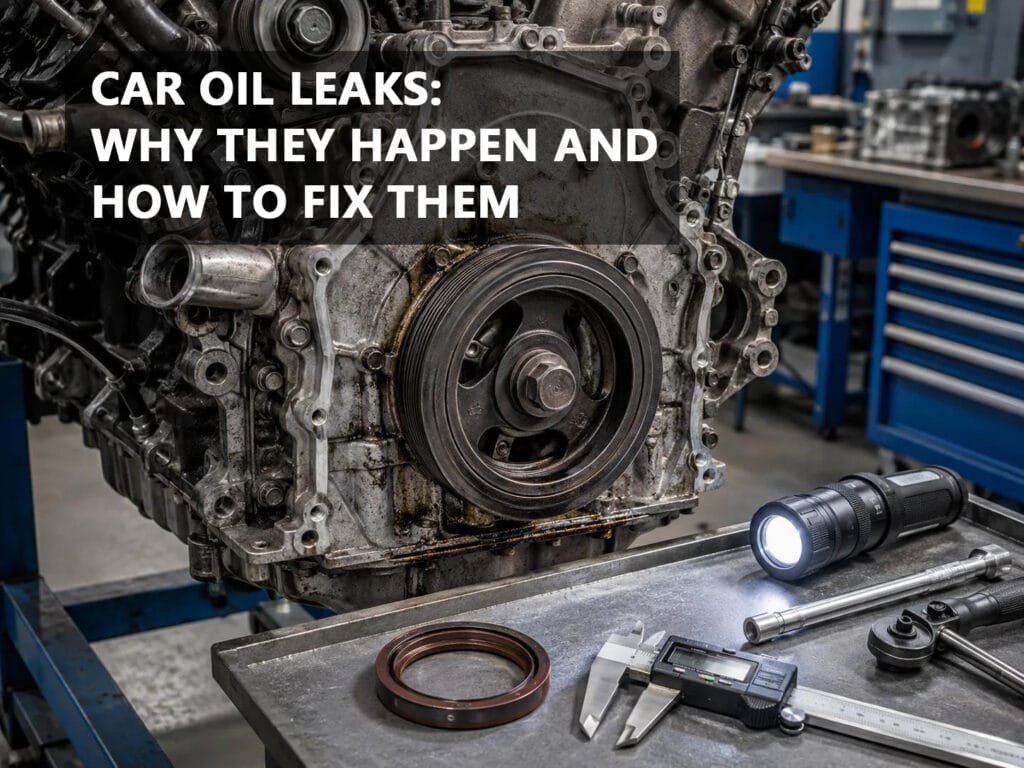
An engine oil leak is more than an unsightly stain on the driveway. It can be an early warning that a gasket, O-ring, oil seal, housing, shaft surface, or lubrication system is no longer operating as intended.
The challenge is that the place where oil reaches the ground is often not the place where the leak begins. Oil can travel along the engine block, timing cover, transmission housing, underbody panels, and other surfaces before finally dripping from the lowest point.
That is why replacing the first wet gasket or seal you see does not always solve the problem.
Professional diagnostic principle:
Do not diagnose an oil leak from the drip location alone. Clean the suspected area, trace the oil upward, identify the highest fresh-oil point, and then inspect the seal, gasket, shaft, housing, pressure condition, and installation environment.
What Does Engine Oil Do?
Engine oil is essential to the operation and durability of an internal combustion engine. Its primary function is to create a lubricating film between moving surfaces, reducing direct metal-to-metal contact and controlling friction and wear.
Engine oil also helps carry heat away from highly loaded components, suspends contaminants, protects internal surfaces against corrosion, and supports hydraulic functions in modern engine systems.
When an engine loses too much oil through an external leak, the remaining oil level may eventually fall below the safe operating range. Reduced lubrication can increase friction, heat, and component wear.
In severe cases, insufficient oil can contribute to bearing damage, loss of oil pressure, or catastrophic engine failure.
Important: A leak should be evaluated according to its rate, location, oil level, operating temperature, and effect on engine lubrication. A small stain and a rapidly dripping oil pan are not equivalent problems.
Common Signs of a Car Oil Leak
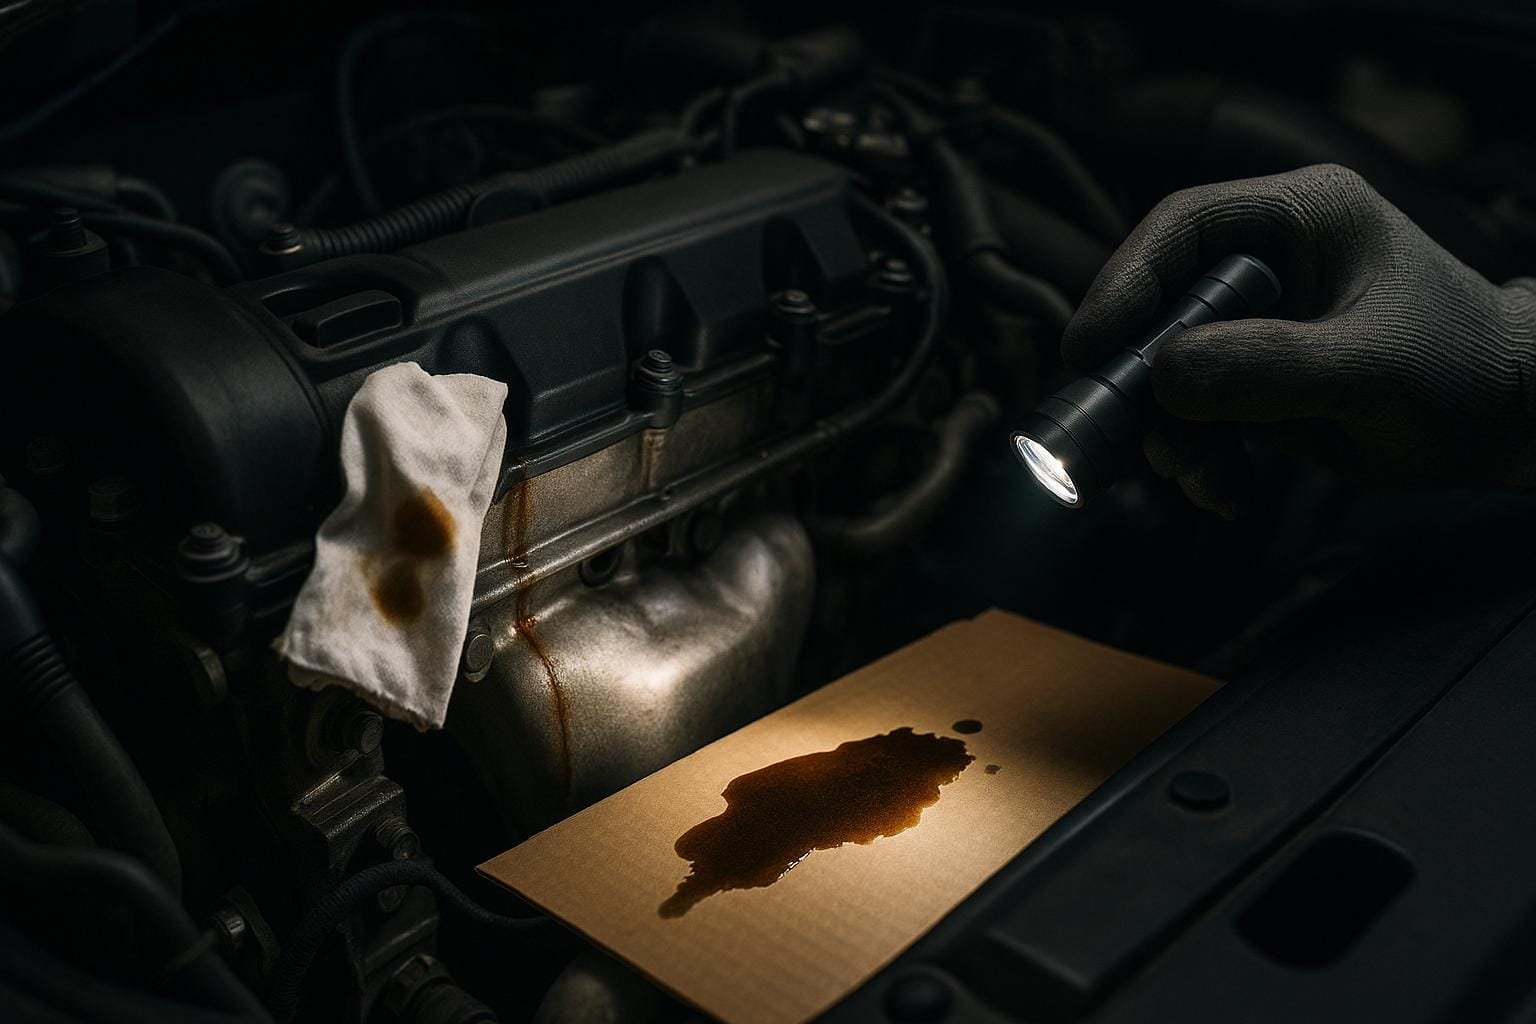
1. Oil Spots Under the Vehicle
Dark brown or black spots underneath a parked vehicle are one of the most recognizable signs of an engine oil leak.
However, the position of the stain should not immediately be used to identify the failed component. Oil can move downward and sideways after escaping from a higher sealing location.
For this reason, the lowest point of oil accumulation is not necessarily the original leak source.
2. Burnt Oil Smell
A strong smell of burning oil may indicate that lubricant is reaching a hot engine or exhaust component.
Oil leaking onto an exhaust manifold, turbocharger housing, or another high-temperature surface can produce smoke and unpleasant fumes and may create a fire risk.
3. Repeatedly Low Oil Level
If the engine oil level repeatedly drops between scheduled oil changes, investigate both external leakage and internal oil consumption.
External leaks may originate from seals, gaskets, O-rings, oil filter housings, drain plugs, or damaged engine components. Internal oil consumption requires a different diagnostic approach.
4. Oil Pressure Warning
An oil pressure warning should be treated as a serious condition. Low oil pressure can have several causes, including insufficient oil level, lubrication-system problems, pump problems, excessive internal clearance, or severe oil leakage.
If the warning remains illuminated while the engine is operating, continuing to drive may cause serious mechanical damage.
5. Smoke From the Engine Compartment
Smoke from the engine bay may indicate that leaking oil is reaching a hot surface. This condition should be investigated promptly rather than being treated as normal engine odor.
Why Do Cars Leak Oil?
Automotive oil leaks can originate from many different components. The most common causes include aging elastomer seals, damaged gaskets, worn shafts, excessive crankcase pressure, damaged oil pans, loose fasteners, incorrect installation, and poor sealing-surface conditions.
A useful way to understand the problem is to divide the causes into four categories:
1. Seal degradation — aging, hardening, cracking, swelling, compression set, or chemical attack.
2. Mechanical conditions — shaft wear, runout, bearing clearance, vibration, or misalignment.
3. Pressure and lubrication problems — excessive crankcase pressure, incorrect oil viscosity, or lubrication-system restrictions.
4. Installation problems — incorrect torque, seal orientation, damaged lips, poor surface preparation, or incorrect installation depth.
Worn or Damaged Oil Seals
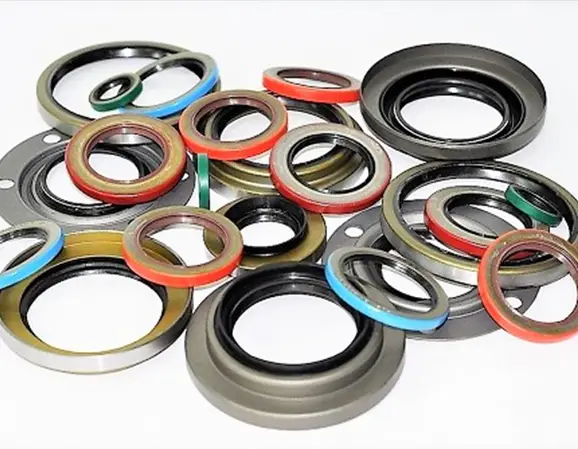
Oil seals are used where a rotating shaft passes through a stationary housing. Their job is to retain lubricant while allowing the shaft to rotate with controlled friction.
Automotive applications commonly include crankshaft seals, camshaft seals, transmission seals, axle seals, differential seals, and other rotary shaft sealing positions.
An oil seal may eventually leak because the elastomer has aged, the sealing lip has worn, the spring has lost its intended function, or the shaft surface has developed a wear track.
How Oil Seal Aging Causes Leakage
Repeated heat cycles can gradually change the properties of an elastomer. Depending on the material and operating conditions, the sealing element may become harder, less elastic, cracked, swollen, or permanently deformed.
Once the sealing lip can no longer maintain the required contact condition against the shaft, oil can pass through the sealing interface.
Shaft Wear Can Destroy a New Oil Seal
One of the most commonly overlooked causes of repeat oil-seal leakage is shaft wear.
The sealing lip repeatedly contacts the same area of the rotating shaft. Over a long service period, a groove may develop at the contact position.
If a new oil seal is installed directly over a severely worn shaft surface, the new lip may follow the existing wear pattern and continue to leak.
Repair rule: When replacing a crankshaft or camshaft oil seal, inspect the shaft surface at the seal contact area. Replacing the rubber component without checking the mating surface can result in repeat failure.
Crankshaft Oil Seal Leaks
Crankshaft oil seals are critical because they must retain engine oil around a rotating shaft while operating under heat, speed, vibration, and changing lubrication conditions.
A front crankshaft seal is generally located near the timing cover or crankshaft pulley area. Depending on engine design, leakage may spread around the pulley and nearby components.
A rear main seal, also called a rear crankshaft seal, is located where the crankshaft exits the engine toward the transmission.
Because oil can migrate across engine surfaces, diagnosing either seal should involve a careful inspection rather than replacing the seal based only on where oil is visible.
Common Causes of Crankshaft Seal Failure
- Normal elastomer aging
- Excessive operating temperature
- Shaft wear at the sealing track
- Crankshaft runout
- Excessive crankcase pressure
- Incorrect seal installation
- Damaged sealing lip
- Incorrect seal material
- Contamination around the sealing interface
- Improper lubrication during installation
Rear Main Seal Leak: What You Need to Know
The rear main seal prevents engine oil from escaping around the rear of the crankshaft where the engine connects to the transmission.
A suspected rear main seal leak can be difficult to confirm because oil from higher areas of the engine may travel toward the engine-transmission junction.
Typical evidence may include oil accumulation around the lower bellhousing area, persistent oil loss, and oil contamination near the engine/transmission connection.
However, oil at the bellhousing does not automatically prove that the rear main seal is the source.
Valve-cover leaks, rear engine gaskets, oil passages, and other components should be ruled out before major disassembly.
Camshaft Oil Seal Failure
Camshaft seals operate around rotating camshaft locations and are exposed to engine oil, temperature fluctuations, and continuous shaft movement.
When a camshaft seal fails, oil may appear around the cylinder head, timing cover, or timing-system area.
On engines equipped with timing belts, oil contamination around the belt should be treated seriously because lubricant exposure may affect components that are designed to operate in a relatively clean environment.
Valve Cover Gasket Leaks
Valve cover gaskets are stationary sealing components, but they experience repeated thermal cycling and vibration.
With age, the gasket may harden, shrink, crack, or lose its ability to conform to the mating surfaces.
A valve cover leak often begins at the upper portion of the engine and then travels downward, making it appear to be an oil-pan or lower-engine leak.
How to Check a Valve Cover Leak
Clean the suspected area first. Then operate the vehicle under normal conditions and inspect the upper sealing surface for fresh oil.
The highest point where fresh oil appears is often more useful diagnostically than the location where oil finally drips.
Oil Pan Damage and Oil Pan Leaks
The oil pan is positioned underneath the engine and is therefore vulnerable to road debris, rocks, impacts, corrosion, and improper service.
A dented oil pan may distort the sealing surface and prevent the gasket or sealant from maintaining uniform contact.
The drain plug and sealing washer should also be inspected because they are disturbed during routine oil changes.
Common Oil Pan Leak Causes
- Damaged or dented oil pan
- Deformed sealing flange
- Failed gasket
- Incorrect liquid sealant application
- Loose or damaged drain plug
- Damaged drain-plug washer
- Over-tightened fasteners
- Oil migrating from an upper engine leak
Oil Filter and Drain Plug Leaks
If an oil leak appears immediately after an oil change, inspect the service area before assuming that an engine seal has failed.
Possible causes include a loose oil filter, damaged filter gasket, incorrect filter, double gasket installation, loose drain plug, damaged sealing washer, or damaged threads.
Important installation point: Do not simply tighten an oil drain plug or filter as much as possible. Excessive tightening can damage threads, deform sealing surfaces, or compromise the sealing component.
Can Excessive Crankcase Pressure Cause Oil Leaks?
Yes. Excessive crankcase pressure can contribute to oil leakage through seals and gaskets.
During engine operation, combustion gases can pass the piston rings and enter the crankcase. The crankcase ventilation system is designed to manage these gases and maintain appropriate pressure conditions.
If the ventilation system becomes restricted or fails, pressure can increase.
That additional pressure can place greater loading on sealing interfaces and may force oil through a weak gasket or oil seal.
Signs of a Possible Pressure-Related Oil Leak
- Several seals appear to leak at the same time
- A recently replaced oil seal begins leaking again
- Oil is pushed from normally reliable sealing locations
- Crankcase ventilation components show signs of restriction
- Oil leakage changes significantly with engine speed
If several independent seals are leaking, replacing them one by one without investigating crankcase pressure can result in repeated repairs.
How to Find the Source of an Engine Oil Leak
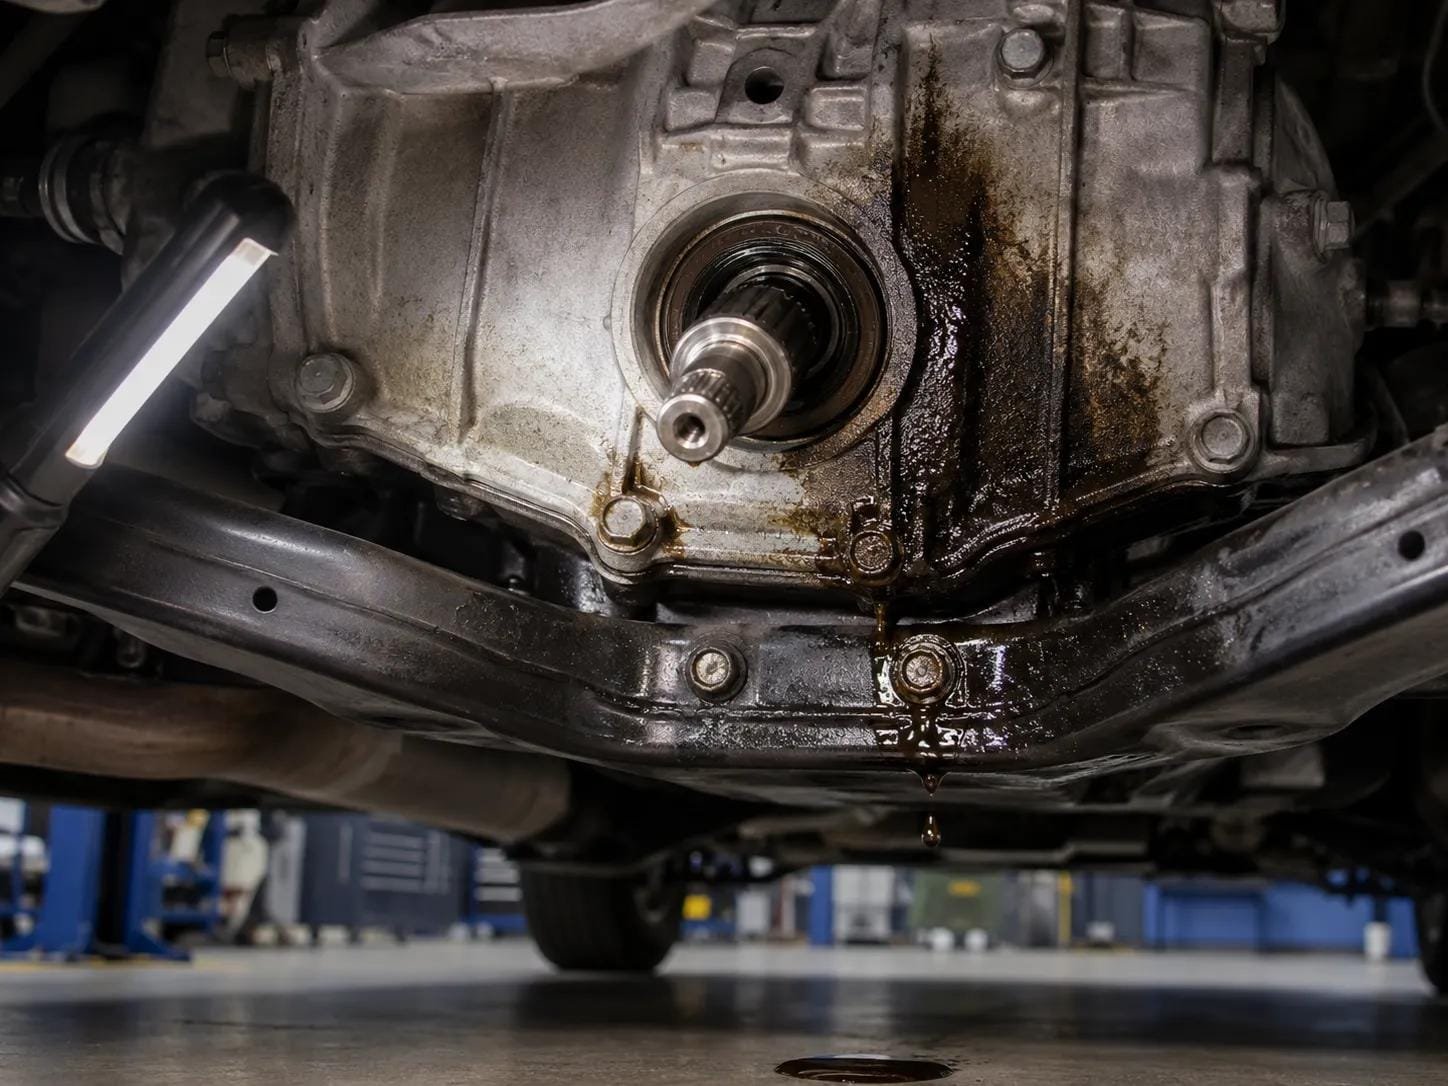
A systematic inspection is more reliable than replacing components based on appearance alone.
Step 1: Check the Oil Level
Before investigating the leak, confirm that the engine contains sufficient oil according to the vehicle manufacturer’s procedure.
If the oil level is critically low, avoid continued operation until the situation has been evaluated.
Step 2: Clean the Suspected Area
Old oil residue can make a small leak appear much larger than it actually is.
Cleaning the area allows fresh leakage to be distinguished from accumulated contamination.
Step 3: Start From the Highest Fresh-Oil Point
Trace the oil upward rather than starting from the lowest drip.
This is one of the most useful principles in automotive leak diagnosis.
Step 4: Check Recently Serviced Components
If the leak appeared immediately after maintenance, inspect the oil filter, drain plug, gasket, seal, and recently disturbed components first.
Step 5: Inspect the Sealing Interface
Check the gasket, O-ring, oil seal, shaft, housing bore, fasteners, and mating surfaces.
Step 6: Check Pressure and Mechanical Conditions
For persistent or repeated leakage, inspect crankcase ventilation, shaft condition, bearing-related movement, and other mechanical factors that could affect the seal.
A Practical Oil Leak Diagnostic Table
| Symptom | Possible Source | Recommended Check |
|---|---|---|
| Oil near valve cover | Valve cover gasket | Inspect upper sealing surface |
| Oil around crankshaft pulley | Front crankshaft seal | Inspect seal and shaft surface |
| Oil between engine and transmission | Rear main seal or oil migration | Trace leak from above |
| Oil around filter | Filter gasket or housing seal | Check installation and gasket |
| Oil near drain plug | Plug or sealing washer | Inspect threads and washer |
| Multiple oil leaks | Crankcase pressure | Inspect PCV/breather system |
| Leak after repair | Installation problem | Check torque, orientation and sealing surfaces |
How to Fix a Car Oil Leak
The correct repair depends on the actual failure mechanism.
A failed gasket requires gasket replacement. A damaged oil seal requires the correct replacement seal. A damaged oil pan requires repair or replacement. Excessive crankcase pressure requires correction of the pressure problem.
Replacing the visible leaking component is not always enough.
The root cause must also be addressed when the leakage is related to pressure, shaft wear, misalignment, excessive temperature, contamination, or incorrect installation.
How to Replace an Automotive Oil Seal Correctly
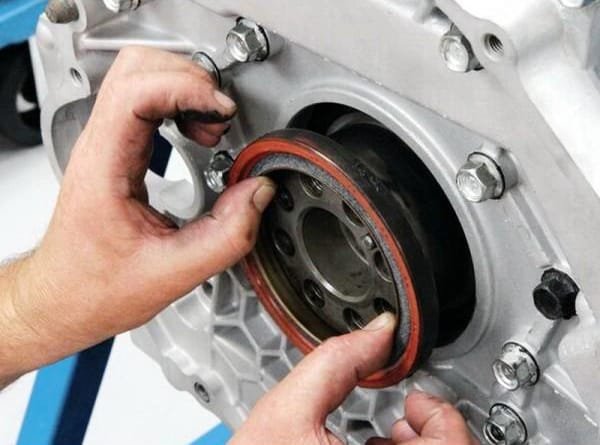
Oil seal replacement should begin with inspection rather than immediate installation.
1. Confirm the Correct Seal
Verify shaft diameter, housing diameter, seal width, profile, material, and application requirements.
2. Inspect the Shaft
Check for wear grooves, corrosion, burrs, scratches, runout, and surface damage.
3. Inspect the Housing
The housing should be clean and free from damage that could prevent proper seating.
4. Confirm Seal Orientation
The sealing lip must face the correct fluid and pressure environment according to the seal design.
5. Protect the Sealing Lip
Avoid cutting or deforming the lip when installing the seal over splines, keyways, threads, or sharp shaft edges.
6. Install at the Correct Depth
Incorrect installation depth may place the sealing lip on an existing shaft wear track or outside the intended sealing position.
7. Verify the Root Cause
Before completing the repair, confirm that pressure, lubrication, shaft condition, and surrounding components are within acceptable conditions.
Choosing the Right Automotive Oil Seal Material
Seal material should be selected according to the actual operating environment rather than simply choosing the most expensive elastomer.
NBR Oil Seals
Nitrile rubber is widely used in oil-sealing applications because it provides a useful balance of oil resistance, mechanical strength, abrasion resistance, and cost.
NBR is commonly suitable for conventional petroleum-based lubricant applications when the temperature and chemical conditions remain within the compound’s specification.
FKM Oil Seals
FKM is often considered when higher temperature resistance or improved resistance to demanding fluids is required.
However, material selection should always be based on the complete application: lubricant, temperature, shaft speed, pressure, contamination, and expected service life.
HNBR and Other Elastomers
HNBR, ACM, silicone, EPDM, and other elastomers may be appropriate for specific automotive sealing environments.
The important principle is that there is no universally best oil-seal material. The best material is the one that matches the actual operating conditions.
Why Do New Oil Seals Leak After Installation?
A replacement seal that leaks shortly after installation does not necessarily indicate a defective seal.
Common causes include:
- Damaged sealing lip
- Wrong seal orientation
- Incorrect installation depth
- Damaged shaft surface
- Incorrect shaft size
- Housing damage
- Excessive crankcase pressure
- Incorrect lubrication
- Contamination
- Shaft runout or mechanical movement
Key engineering point:
An oil seal does not work independently. Its performance depends on the interaction between the seal material, lip geometry, shaft surface, housing, lubricant, temperature, speed, pressure, and installation quality.
Can You Drive a Car With an Oil Leak?
There is no single answer for every leak.
A minor seepage is different from a rapidly dripping oil pan or a leak that is reducing the engine oil level quickly.
However, if the oil-pressure warning is illuminated, the oil level is critically low, oil is reaching hot exhaust components, or a large quantity of oil is being lost, continuing to drive can result in serious damage.
The safest approach is to determine the severity of the leak before driving any significant distance.
Stop and seek professional assistance if:
- The oil-pressure warning remains on.
- Oil is rapidly dripping from the engine.
- The engine oil level is dangerously low.
- Smoke is coming from the engine bay.
- Oil is reaching the exhaust system.
- The engine develops unusual mechanical noise.
How to Prevent Recurring Oil Leaks
Use the Correct Engine Oil
Follow the manufacturer’s recommended viscosity and oil specification. Do not select a lubricant only because it appears thicker or cheaper.
Maintain the Correct Oil Level
Both insufficient and excessive oil levels can create undesirable operating conditions.
Maintain the PCV System
A properly functioning crankcase ventilation system helps manage crankcase pressure and reduces unnecessary loading on engine seals.
Inspect Seals During Routine Maintenance
Early signs such as oil staining, wet sealing surfaces, or small seepage should be investigated before they become major leaks.
Use Correct Installation Procedures
Follow the vehicle or component manufacturer’s torque specifications, tightening sequence, seal orientation, installation depth, and sealing-surface requirements.
Oil Leak vs Oil Consumption
An engine that loses oil does not necessarily have an external leak.
External oil leakage leaves lubricant outside the engine, while oil consumption occurs when lubricant enters the combustion process or is lost internally.
Possible causes of internal oil consumption include worn piston rings, valve-stem sealing problems, turbocharger-related issues, or cylinder wear.
A vehicle can also experience both conditions simultaneously.
Frequently Asked Questions About Car Oil Leaks
Is a small oil leak serious?
A small leak may not create immediate engine failure, but it should still be diagnosed. A leak can gradually become larger and reduce the available engine oil.
Why is my car leaking oil but there is no puddle?
Very slow seepage, oil burning on hot components, underbody covers, or internal oil consumption can explain why oil loss is occurring without an obvious puddle.
Why does my car smell like burnt oil?
Oil may be escaping onto a hot engine or exhaust component. The valve-cover area and upper engine sealing surfaces are worth inspecting.
Why does my car leak oil after an oil change?
Inspect the oil filter, filter gasket, drain plug, sealing washer, and filter housing first. Installation-related leakage is possible when the problem begins immediately after service.
Can excessive crankcase pressure cause oil leaks?
Yes. Excessive crankcase pressure can increase the load on gaskets and oil seals and may contribute to repeated leakage.
Why does a new oil seal keep leaking?
Possible causes include shaft wear, damaged sealing surfaces, incorrect installation, excessive pressure, incorrect seal material, contamination, or shaft movement.
How long should an automotive oil seal last?
There is no universal service-life value. Oil-seal life depends on material, temperature, shaft speed, lubricant, shaft condition, pressure, contamination, installation quality, and seal design.
Final Takeaway: Fix the Cause, Not Just the Leak
Finding oil underneath a vehicle is only the beginning of the diagnosis.
A reliable repair requires more than identifying a wet gasket or replacing an oil seal. The technician must determine where the oil originates, why the sealing system failed, and whether the surrounding mechanical conditions are still suitable for the replacement component.
For automotive oil seals, the complete sealing system includes:
Seal Material + Seal Design + Shaft Surface + Housing + Lubricant + Temperature + Speed + Pressure + Installation
When these factors are correctly matched, an automotive oil seal can provide reliable oil retention and long service life.
When an oil leak appears, do not simply add more oil and continue driving indefinitely. Identify the source, check the oil level, inspect the sealing system, correct the root cause, and select the appropriate replacement seal for the application.
Looking for the right automotive oil seal?
If you need support selecting an oil seal for crankshafts, camshafts, transmissions, gearboxes, pumps, or other rotating-shaft applications, provide the shaft diameter, housing diameter, operating temperature, lubricant, shaft speed, and working environment.
Our technical team can help evaluate the sealing requirements and recommend a suitable oil-seal profile and material for your application.