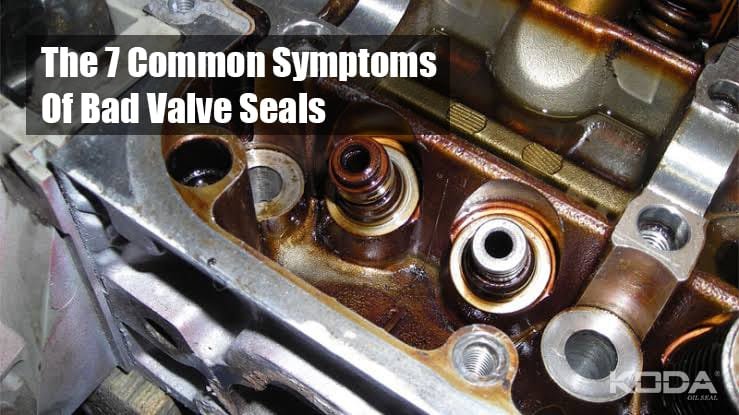
Understanding Valve Seals and Why They Matter
Valve seals are small components, but their influence on engine oil control, combustion quality, emissions, and long-term cylinder-head reliability is much greater than their size suggests. A valve stem moves continuously through a valve guide while the upper portion of the cylinder head is supplied with lubricating oil. The valve seal must allow enough oil to reach the stem-guide interface for lubrication while preventing excessive oil from entering the combustion chamber.
When a valve seal becomes hardened, cracked, worn, incorrectly installed, or incompatible with the engine environment, oil can migrate down the valve stem. Once that oil reaches the combustion chamber, it is burned during the combustion cycle. The result can include blue-gray exhaust smoke, increasing oil consumption, spark-plug deposits, rough running, and emissions problems. However, these symptoms are not unique to valve seals, so proper diagnosis is important before replacing parts.
For an engineering-oriented overview of Valve Seals, it is useful to think of the component as an oil-metering device rather than simply a barrier. The objective is controlled lubrication, not zero lubrication.
🔎 Key Engineering Point: A failed valve seal can allow oil into the combustion chamber without necessarily causing a major compression loss. If compression is normal but the engine produces characteristic blue smoke and consumes oil, the valve-seal/valve-guide system should be considered alongside other possible oil-control problems.
What Does a Valve Stem Seal Actually Do?
A typical valve train contains a valve, valve stem, valve guide, spring, retainer, and sealing element. The valve stem slides through the guide with a carefully controlled clearance. Oil is required at this interface because dry sliding contact would accelerate wear and increase friction.
The valve stem seal controls the amount of oil entering the guide. The seal generally incorporates an elastomeric sealing lip that maintains contact with the moving valve stem. Depending on engine design, the seal may also incorporate a metal reinforcing shell, spring-loaded sealing lip, or positive-location feature on the valve guide.
The sealing interface therefore has several competing requirements. It must maintain contact pressure, accommodate valve-stem movement, resist engine-oil exposure, tolerate thermal cycling, survive vibration, and remain dimensionally stable for a long service period.
| Component | Primary Function | Typical Failure Consequence |
|---|---|---|
| Valve Stem Seal | Meters oil flow around the valve stem | Oil enters combustion chamber |
| Valve Guide | Guides valve stem movement | Excessive stem movement and oil leakage |
| Valve | Controls gas flow into and out of cylinder | Compression or combustion problems |
| Valve Spring | Returns and controls valve motion | Valve-train noise or loss of control |
The 7 Common Symptoms of Bad Valve Seals
1. Blue or Blue-Gray Exhaust Smoke at Startup
One of the most recognizable signs of a possible valve-seal problem is a brief cloud of blue or blue-gray exhaust smoke immediately after starting the engine, particularly after the vehicle has been parked for several hours.
When an engine is switched off, oil remains in the cylinder-head area. If the valve-seal interface has deteriorated, a small quantity of oil can migrate along the valve stem and accumulate near the combustion chamber. During the next start, that oil is burned with the incoming air-fuel mixture, producing visible smoke.
The timing of the smoke is important. A short startup puff that disappears as the engine begins running normally can be more suggestive of oil entering through the valve area than continuous smoke under all operating conditions. Nevertheless, valve-guide wear, piston-ring problems, turbocharger oil leakage, and crankcase ventilation problems can produce overlapping symptoms.
Technical automotive references also identify blue smoke during startup and after periods of high intake vacuum as characteristic patterns associated with valve-stem sealing problems.
⚠ Diagnostic Tip: Record exactly when the smoke occurs. “Smoke all the time” and “a brief puff after an overnight parking period” are diagnostically different observations.
2. Blue Smoke After Idling
Another common pattern is blue smoke appearing after the engine has idled for several minutes, followed by acceleration. During extended idling, the intake side of an engine can experience significant manifold vacuum depending on engine architecture and throttle position.
If the valve-seal system is unable to control oil adequately, oil can move down the valve stem during this period. When the throttle is opened, the accumulated oil is burned, producing a visible smoke event.
This symptom is particularly useful because the driver may notice little or no smoke during steady cruising. The smoke instead appears when leaving a traffic light, parking space, or prolonged idle condition.
3. Blue Smoke During Deceleration or After Engine Braking
High-vacuum deceleration is another operating condition worth observing. When the throttle closes while the engine remains at elevated speed, manifold pressure can fall substantially below atmospheric pressure. This creates a strong pressure differential across the intake-side sealing system.
If the valve stem seal or valve guide is worn, the pressure differential can encourage oil migration along the valve stem. When the driver subsequently opens the throttle, the accumulated oil may burn and create a blue-gray smoke plume.
Engineering troubleshooting literature identifies excessive valve-stem-to-guide clearance and valve-stem seal failure among possible causes of blue smoke during closed-throttle operation.
4. Increased Engine Oil Consumption
Valve-seal failure can cause the engine to consume oil without producing an obvious external oil leak. This is because the oil is entering the combustion chamber internally and being burned.
A useful diagnostic distinction is the relationship between measured oil loss and visible leakage. If the oil level decreases over a controlled mileage interval but there are no corresponding leaks beneath the vehicle, internal oil consumption deserves investigation.
However, oil consumption alone cannot prove valve-seal failure. Piston rings, cylinder wear, turbocharger seals, crankcase ventilation systems, oil-control rings, and external leaks can all contribute.
📐 Simple Oil-Consumption Calculation: If an engine loses approximately 0.5 L of oil during a controlled 2,000 km interval, the measured consumption rate is 0.25 L/1,000 km. This number should then be compared with the vehicle manufacturer’s specification and the engine’s operating condition rather than judged against a universal value.
5. Fouled or Oil-Contaminated Spark Plugs
When engine oil repeatedly enters a gasoline engine’s combustion chamber, the spark plug may accumulate deposits. Depending on the oil formulation, combustion conditions, engine temperature, and severity of leakage, deposits can appear dark, wet, or ash-like.
A contaminated spark plug may contribute to intermittent misfire, rough idle, hard starting, or reduced combustion efficiency. But technicians should avoid assuming that a dirty plug automatically means the valve seals are defective.
The cylinder location is especially valuable. If one cylinder shows significantly more oil-related contamination than the others, inspection of that cylinder’s valve guide, valve stem, seal, piston, and combustion chamber can provide stronger diagnostic evidence.
6. Rough Idle, Misfire, or Reduced Engine Performance
Severely deteriorated valve seals may contribute indirectly to poor running. Oil entering the combustion chamber can foul spark plugs and create deposits. Deposits can disturb combustion and contribute to intermittent ignition problems.
In some engines, severe oil contamination can also affect oxygen sensors or exhaust after-treatment components over time. The resulting symptoms may include rough idle, hesitation, reduced acceleration, or diagnostic trouble codes.
It is important to understand the direction of causality. A valve-seal problem does not automatically cause major power loss. If the engine has substantial compression loss, severe misfire, or a large reduction in power, other mechanical problems should be investigated at the same time.
7. Burning-Oil Odor or Evidence of Long-Term Oil Burning
Persistent oil consumption can sometimes produce a noticeable burning-oil odor, particularly when oil enters the exhaust stream or contaminates hot engine components. Combustion-related oil burning can also leave deposits in the exhaust system.
Long-term oil burning deserves attention because the consequences may extend beyond the seal itself. Oil-derived combustion products can contaminate spark plugs and exhaust after-treatment components. In severe cases, continued operation can turn a relatively small sealing problem into a broader engine-maintenance issue.
⚠ Important: A burning-oil smell is a symptom, not a diagnosis. External oil contacting a hot exhaust manifold can create a similar odor and may represent a more immediate fire hazard.
Why Valve Seals Fail
Valve seals normally operate under a combination of heat, oil exposure, cyclic mechanical movement, vibration, and changing pressure conditions. Failure is therefore often a progressive material-and-system problem rather than a single event.
Thermal Aging
Elastomeric materials gradually change when exposed to elevated temperature. Depending on formulation and operating conditions, the material may harden, lose elasticity, shrink, develop cracks, or lose its ability to maintain the intended sealing force.
Exhaust-side valve components generally experience a more severe thermal environment than intake-side components. Exact temperatures vary dramatically with engine architecture, load, air-fuel ratio, ignition timing, exhaust flow, valve design, and cooling strategy, so a single universal valve-seal temperature rating should never be assumed.
Material Compatibility
Valve seals must be compatible with the engine oil and additives used by the application. Common automotive sealing elastomers include nitrile-based materials, acrylic materials, silicone formulations, and fluoroelastomers such as FKM, depending on the design and temperature requirements.
| Material Family | General Strength | Important Consideration |
|---|---|---|
| NBR | Good general oil resistance and cost efficiency | Temperature capability depends strongly on formulation |
| ACM | Good resistance to hot automotive oils | Generally less suitable for some low-temperature environments |
| Silicone | Excellent high-temperature flexibility | Oil compatibility and mechanical wear must be evaluated |
| FKM | Excellent resistance to many oils, fuels, and high-temperature environments | Cost and low-temperature flexibility require consideration |
These material categories should be treated as engineering starting points rather than automatic substitutions. The actual compound formulation, hardness, reinforcement, geometry, surface finish, temperature cycle, and lubricant chemistry determine real performance.
Valve Guide Wear
A new valve seal cannot compensate indefinitely for an excessively worn valve guide. The seal is designed to meter oil around a valve stem that follows a controlled path. Excessive radial movement changes the sealing interface and can allow oil to bypass the seal.
This is one of the most important diagnostic principles: when replacing valve seals on a high-mileage cylinder head, inspect the valve guides and valve-stem condition rather than treating the seal as an isolated component.
Incorrect Installation
Installation damage can occur when a seal is pushed over sharp valve-stem grooves, keeper grooves, retaining features, or other edges without the appropriate protective sleeve or installation technique.
A seal may look acceptable immediately after installation but develop a leak later if its sealing lip was cut, stretched beyond its intended deformation, displaced from its groove, or installed at the wrong depth.
Valve Seal Symptoms vs. Other Engine Problems

One of the biggest mistakes in diagnosis is assuming that every blue-smoke or oil-consumption problem is caused by valve seals. Several systems can create similar symptoms.
| Observed Condition | Possible Cause | Useful Diagnostic Direction |
|---|---|---|
| Blue smoke mainly at startup | Valve seals, guides, other oil-entry paths | Observe smoke timing and inspect valve area |
| Continuous blue smoke under load | Piston rings, cylinder wear, turbo oil leakage, valve-related problems | Compression/leak-down and turbo inspection |
| High crankcase pressure | PCV problem, blow-by, ring wear | Crankcase ventilation and pressure testing |
| Oil outside engine | External gasket or seal leak | Visual inspection and UV dye where appropriate |
| Oil in intercooler/turbo plumbing | Turbocharger or crankcase ventilation system | Inspect turbo and PCV system |
How to Diagnose Bad Valve Seals
Step 1: Confirm the Oil Consumption
Start with a controlled measurement rather than relying on memory. Record the oil level under consistent parking and temperature conditions, verify the correct lubricant specification, and track the quantity added over a known distance.
For example, if an engine requires 0.4 L of makeup oil after 1,600 km, the measured rate is 0.25 L/1,000 km. This is only a measurement example, not a universal failure threshold.
Step 2: Observe Smoke Timing
Observe the exhaust during cold start, extended idle, closed-throttle deceleration, and acceleration. A helper or suitable video recording can make intermittent smoke easier to identify.
Smoke timing can provide useful clues, but it should be combined with mechanical tests rather than used as a stand-alone diagnosis.
Step 3: Inspect Spark Plugs
Remove and compare the spark plugs. Look for differences between cylinders, including oil contamination, abnormal deposits, electrode wear, and evidence of repeated misfire.
A single abnormal cylinder can be particularly informative because it may direct the technician toward a localized valve, guide, piston, injector, or ignition problem.
Step 4: Perform Compression Testing
A compression test can help evaluate the overall ability of each cylinder to develop pressure. Valve-seal leakage by itself does not normally behave like a burned valve or severely damaged piston ring because the seal controls oil rather than sealing combustion pressure.
Consequently, acceptable compression does not automatically eliminate valve-seal problems.
Step 5: Perform a Leak-Down Test When Appropriate
A cylinder leak-down test can help identify whether compressed air escapes through the intake valve, exhaust valve, piston/ring system, or another path. The result can help separate valve-sealing problems from oil-control problems.
For advanced diagnosis, combining compression, leak-down, crankcase-pressure measurements, borescope inspection, oil-consumption measurements, and smoke behavior provides considerably stronger evidence than any individual test.
Case Example: Intermittent Blue Smoke After Traffic Lights
Case Example — Industry Diagnostic Scenario: Consider a hypothetical gasoline engine that shows no obvious smoke during steady highway driving but produces a brief blue-gray cloud when accelerating after sitting at idle for several minutes. The engine also consumes oil gradually, while no external leak is visible.
The first step should not be to order valve seals immediately. The technician should document oil consumption, inspect the PCV system, examine the spark plugs, inspect the intake tract, evaluate turbocharger condition if equipped, and compare cylinder behavior.
If the engine has normal compression, no significant leak-down evidence of valve-seat failure, and a strong correlation between extended idle and subsequent blue smoke, valve-stem sealing becomes a reasonable diagnostic direction. If inspection then reveals hardened valve seals and acceptable valve-guide dimensions, replacing the seals may address the oil-entry mechanism.
Important: This is a hypothetical engineering case example based on common diagnostic reasoning. It does not represent a real customer, manufacturer warranty case, factory test, or guaranteed repair result.
Laboratory Test Example: Evaluating Valve Seal Material
Laboratory Test Example — Not a Customer Test: A seal manufacturer or engineering laboratory could evaluate candidate valve-seal materials by exposing specimens to representative engine oil at controlled temperatures for defined periods. Before and after exposure, engineers may measure mass change, volume change, hardness, tensile properties, compression set, dimensional change, and visual condition.
| Property | Why It Matters | Typical Interpretation |
|---|---|---|
| Hardness | Indicates material stiffness | Large changes may indicate aging or fluid interaction |
| Volume Change | Shows swelling or shrinkage | Excessive dimensional change can alter sealing force |
| Compression Set | Indicates retained deformation | Higher permanent deformation can reduce sealing resilience |
| Mass Change | Indicates fluid uptake or material loss | Requires interpretation with volume and hardness data |
Automotive seal qualification should use the relevant material specification, manufacturer requirements, engine-specific validation procedure, and applicable industry test methods. A laboratory soak test alone cannot reproduce the complete thermal, dynamic, chemical, and mechanical environment of a working valve train.
Failure Mode Analysis
Failure Mode 1: Seal Hardening
Thermal aging can reduce elastomer flexibility. A hardened sealing lip may no longer maintain the intended contact against the valve stem during thermal cycling and dynamic movement.
Failure Mode 2: Lip Cracking
Repeated thermal exposure, chemical aging, excessive deformation, or mechanical damage can produce cracks in the sealing lip. Even a small defect can create a leakage path.
Failure Mode 3: Excessive Valve-Guide Clearance
When the valve stem moves excessively within the guide, the seal may be forced to accommodate motion beyond its intended design envelope. This can accelerate wear and reduce oil-control capability.
Failure Mode 4: Installation Damage
Cutting or tearing the sealing lip during installation is a common avoidable problem. Protective sleeves should be used where the valve-stem geometry requires them, and the seal should be installed using the correct tool and axial force.
Failure Mode 5: Incorrect Seal Geometry
A seal that looks physically similar may still have the wrong inner diameter, installation height, valve-guide interface, spring arrangement, or material compound. Small dimensional differences can produce large changes in sealing performance.
🛠 Expert Tip: Never select a replacement valve seal only by external appearance. Confirm the engine application, valve-stem diameter, guide dimensions, installation configuration, material specification, and manufacturer part number wherever possible.
How to Replace Valve Seals Correctly
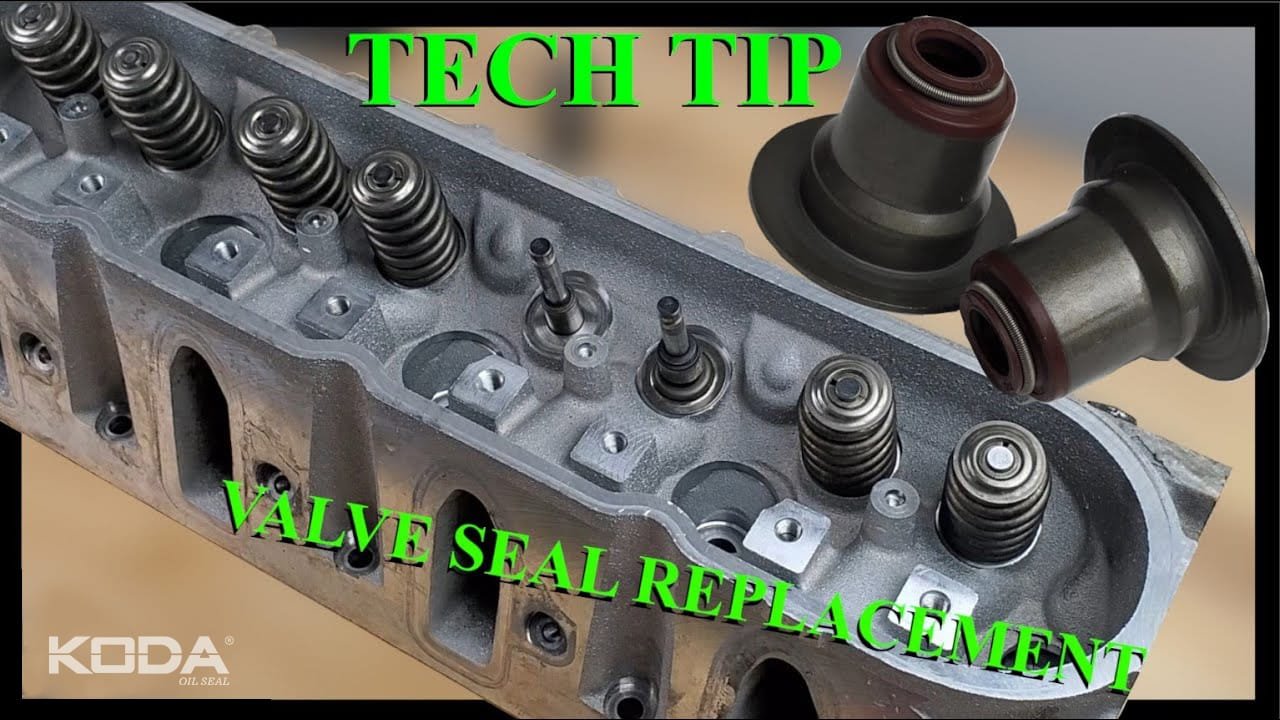
Valve-seal replacement procedures vary considerably between engines. Some cylinder heads allow replacement with the head installed using compressed air or a suitable rope method to retain the valves, while others require cylinder-head removal.
The exact service procedure should follow the vehicle manufacturer’s repair information. Improvised procedures can allow a valve to drop into the cylinder or can damage valve-train components.
General Installation Principles
Before installation, confirm that the new seals match the original application. Inspect valve stems and guides for damage. Clean the installation area and protect the sealing lip from sharp edges.
Where the valve stem contains grooves or keeper-related features that could damage the lip, use the specified protective sleeve or installation aid. Apply only the lubricant recommended for the seal and engine application.
Press the seal to the correct installation position. Avoid hammering directly on the elastomer. If the design uses a positive-locking seal, verify that it is fully seated.
After assembly, verify valve-train movement, keeper installation, spring seating, and any required valve clearance or hydraulic-lifter conditions before starting the engine.
How to Choose a High-Quality Valve Seal
Choosing a valve seal is fundamentally a system-engineering decision. The correct part should be evaluated against temperature, lubricant chemistry, valve-stem speed, guide clearance, installation geometry, and expected service conditions.
| Selection Factor | Question to Ask |
|---|---|
| Temperature | What are the actual continuous and transient temperatures? |
| Oil | Is the elastomer compatible with the specified engine oil and additives? |
| Valve Stem | What is the actual stem diameter and surface condition? |
| Guide | Is valve-guide clearance within specification? |
| Material | Is the compound appropriate for temperature and oil exposure? |
| Geometry | Does the seal match the guide and installation configuration? |
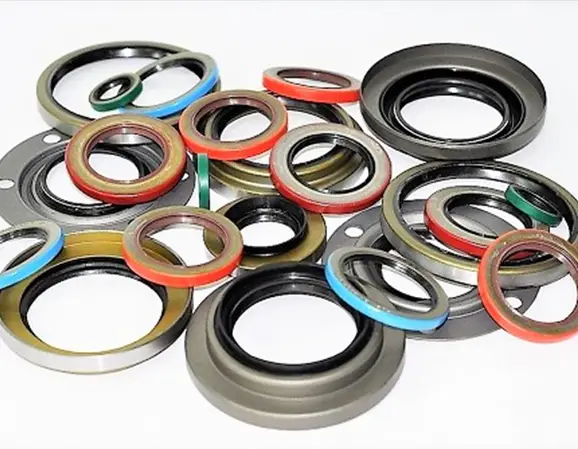
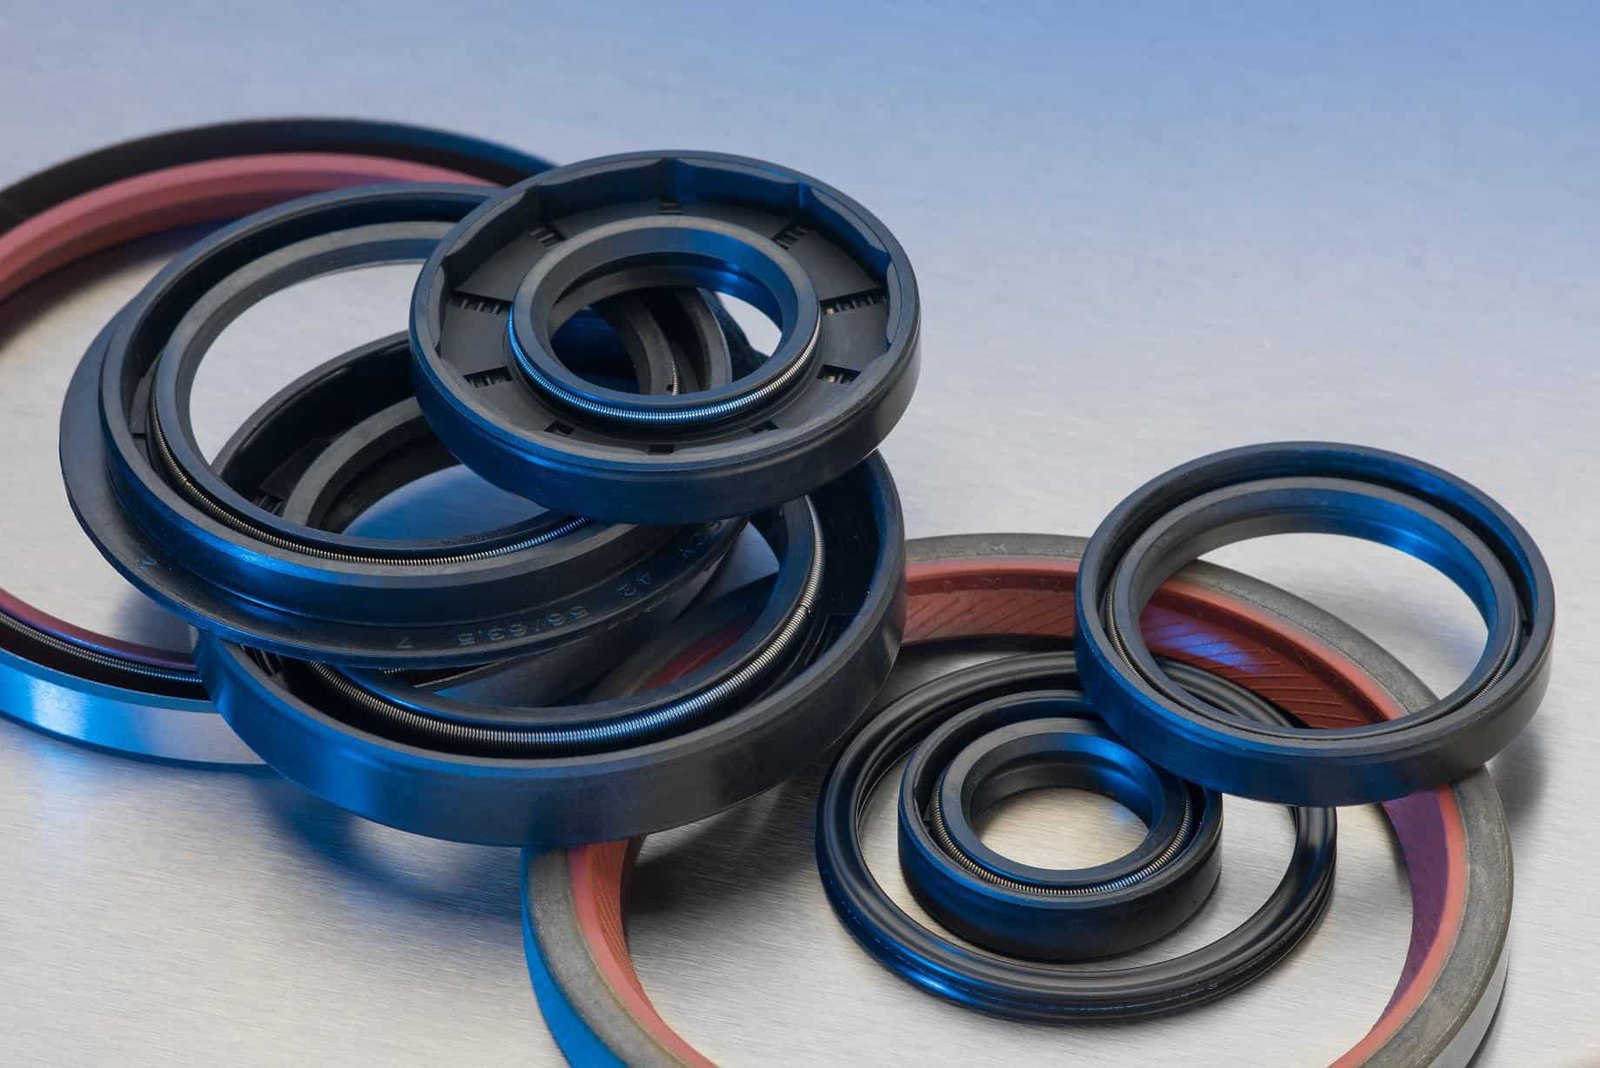
For broader automotive sealing applications, properly specified car oil seals should similarly be selected according to application conditions rather than simply by nominal size.
Do Bad Valve Seals Always Cause Low Compression?
No. This is an important diagnostic distinction.
The valve stem seal primarily controls oil movement around the valve stem. The valve face and valve seat provide the primary combustion-gas sealing function when the valve is closed. Therefore, a valve-stem seal can allow oil into the combustion chamber while the valve itself continues to seal combustion pressure reasonably well.
Low compression may instead point toward worn piston rings, a damaged piston, burned valve, valve-seat problem, incorrect valve timing, head-gasket failure, or another mechanical condition.
Consequently, compression testing and oil-consumption diagnosis should be interpreted together rather than treating one measurement as proof of valve-seal failure.
Can You Drive With Bad Valve Seals?
A vehicle may continue to operate for some time with deteriorated valve seals, but continued oil burning should not be ignored. The practical risk depends on severity, engine design, oil-consumption rate, emissions requirements, and the condition of the rest of the engine.
As oil consumption increases, the driver must maintain the correct oil level. Operating an engine with insufficient oil can create consequences far more serious than the original valve-seal problem.
Long-term oil burning can also increase deposits and potentially affect spark plugs, oxygen sensors, and catalytic-converter performance. Therefore, early diagnosis is usually preferable to waiting until the engine develops additional symptoms.
Expert Diagnostic Checklist
✓ Confirm the correct engine oil and oil level.
✓ Record actual oil consumption over a known distance.
✓ Check for external oil leaks.
✓ Observe exhaust smoke during cold start.
✓ Observe smoke after extended idle.
✓ Observe smoke during closed-throttle deceleration.
✓ Inspect spark plugs for cylinder-to-cylinder differences.
✓ Inspect the PCV/crankcase ventilation system.
✓ Perform compression testing where appropriate.
✓ Perform leak-down testing when further mechanical diagnosis is required.
✓ Inspect valve guides and valve stems during cylinder-head service.
✓ Verify the replacement seal’s dimensions and material.
What Standards and Engineering Specifications Matter?
Unlike standardized radial shaft seals, automotive valve stem seals are frequently controlled by engine manufacturers, component suppliers, material specifications, and application-specific validation procedures. Therefore, there is no single ASTM or ISO number that can be used as a universal “valve stem seal performance standard” for every automotive engine.
General elastomer characterization can involve standardized methods for hardness, tensile properties, compression set, fluid resistance, heat aging, and dimensional change. The appropriate test method depends on the material and qualification requirement.
ISO and ASTM documents should therefore be treated as test-method or material-characterization references where applicable, while the engine manufacturer’s design specification remains the controlling requirement for a production repair.
For industrial valve stem seals, standards can be quite different from automotive valve stem oil seals. For example, ISO 12101:2025 addresses type testing and qualification procedures for stem seals used in industrial valves and fugitive-emission applications. It should not be confused with a specification for automotive engine valve-stem oil seals.
Frequently Asked Questions
FAQ 1: What is the most obvious symptom of bad valve seals?
The most characteristic symptom is often blue-gray exhaust smoke after a cold start, after prolonged idling, or following a high-vacuum deceleration event. However, smoke alone cannot conclusively prove valve-seal failure because other oil-control problems can create similar symptoms.
FAQ 2: Can bad valve seals cause excessive oil consumption?
Yes. A deteriorated valve-stem sealing system can allow engine oil to enter the combustion chamber and burn. The resulting oil consumption may occur without a visible external leak.
FAQ 3: Do bad valve seals cause low compression?
Usually not by themselves. Valve-stem seals control oil rather than providing the primary combustion-pressure seal. Low compression should prompt investigation of valve seating, piston rings, cylinder condition, valve timing, head-gasket condition, and other mechanical factors.
FAQ 4: How can I distinguish valve-seal problems from piston-ring problems?
Smoke timing, oil-consumption measurements, compression testing, leak-down testing, crankcase-pressure evaluation, spark-plug inspection, and engine-specific diagnostic procedures should be considered together. A brief smoke event after startup or high-vacuum operation can provide a useful clue toward valve-area oil leakage, while continuous smoke under load may suggest other causes, but neither pattern is an absolute diagnosis.
FAQ 5: Should valve guides be inspected when replacing valve seals?
Yes, especially on a high-mileage engine or when oil consumption is significant. Excessive valve-guide clearance can allow the valve stem to move beyond the seal’s intended operating condition. In that situation, replacing the seal alone may not provide a durable solution.