
Understanding Whether Rubber O-Rings Can Be Shrunk
In sealing applications, dimensional accuracy is critical. Even slight variation in fit can affect compression, leakage resistance and long-term performance. This leads many users to ask whether a Rubber O-Ring can be shrunk for a better fit rather than replaced.
While O-rings are precision components and replacing an incorrectly sized seal is usually the preferred engineering solution, there are technical scenarios where temporary dimensional adjustment or controlled material response may be considered. Understanding what is possible, what is risky and what methods are appropriate is essential.
🔍 Key Principle: Shrinking an O-ring is generally not a substitute for proper sizing, but understanding material behavior can help address certain fit challenges.
Why O-Ring Fit Matters
O-rings seal through controlled compression. Even small dimensional deviations may affect performance.
Compression Depends on Correct Fit
Proper squeeze creates the sealing force necessary for leak prevention.
Oversized O-Rings Can Cause Issues
Improperly sized seals may twist, bunch or experience installation difficulties.
Dimensional Accuracy Supports Reliability
Correctly sized seals typically outperform modified components.
Why Proper Fit Matters
• Sealing reliability
• Controlled compression
• Lower leakage risk
• Longer service life
Can Rubber O-Rings Actually Shrink?
The answer depends on material type, environmental exposure and whether temporary or permanent dimensional change is being discussed.
Temporary Thermal Contraction
Some elastomers may contract slightly under reduced temperatures, but this is generally temporary.
Aging-Related Shrinkage
Certain environmental exposure conditions may lead to dimensional change over time, though this is not a controlled sizing method.
Engineered Resizing Is Limited
Permanent intentional shrinking of a Rubber O-Ring is generally not standard practice.
⚠ Important: In most sealing applications, replacing the O-ring with the correct size is safer than attempting dimensional modification.
Step 1: Confirm Whether Shrinking Is Really Necessary
Before considering any dimensional adjustment, first verify whether the fit issue is actually caused by O-ring size.
Check Groove Dimensions
Installation problems may come from gland geometry rather than O-ring size.
Verify Standard Size Selection
Confirm the correct standard size before considering alternatives.
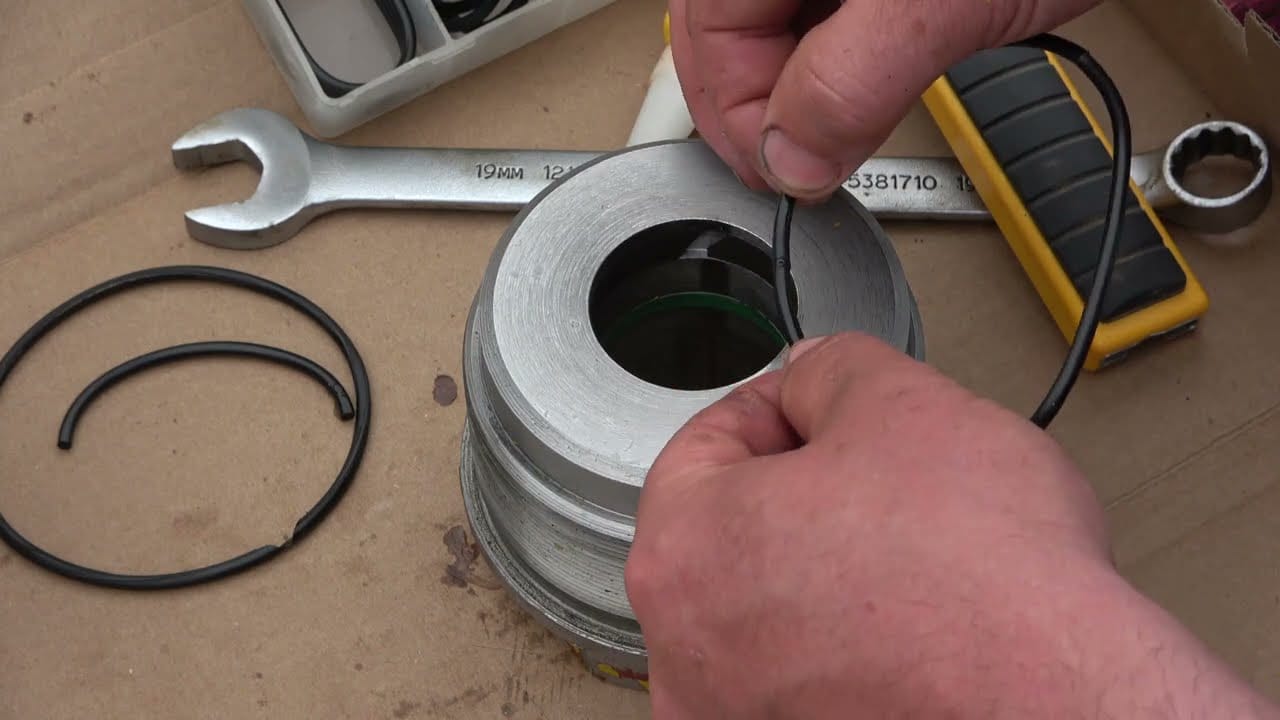
Inspect Installation Method
Twisting or improper assembly can create apparent fit problems.
✔ First Troubleshooting Steps
• Measure groove dimensions
• Verify O-ring specifications
• Inspect installation technique
• Rule out false fit issues
Step 2: Controlled Temperature Conditioning
Temperature conditioning is sometimes discussed for temporary handling assistance.
Low Temperature Conditioning
Some elastomers may temporarily contract slightly when cooled, potentially assisting installation in limited situations.
Use Caution With Material Limits
Elastomer behavior varies by compound and excessive temperature exposure may be harmful.
Temporary Effect Only
This is not true permanent resizing and should not be treated as one.
🧊 Technical Note: Cooling may influence temporary dimensions slightly, but it does not replace correct O-ring sizing.
Step 3: Evaluate Material Compatibility Before Any Adjustment
Different elastomers respond differently to environmental conditions.
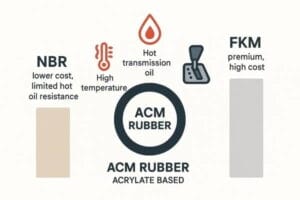
Nitrile O-Rings
Common and versatile, but dimensional behavior should not be assumed.
FKM and High-Performance Elastomers
Performance compounds may respond differently to conditioning.
Silicone and Specialty Materials
Material behavior can vary significantly.
Understanding the specific Rubber O-Ring compound is essential before considering any dimensional adjustment.
Material Factors To Consider
• Elastomer type
• Temperature sensitivity
• Compression properties
• Application criticality
Step 4: Use Engineering Alternatives Instead of Shrinking
In most cases, alternative technical solutions are preferable.
Select Correct O-Ring Size
The best solution is usually replacing the seal with the proper dimensions.
Review Cross Section Choice
Sometimes fit issues involve cross section rather than inner diameter.
Evaluate Groove Design
Adjusting gland design may solve fit concerns more effectively.
✔ Preferred Engineering Solutions
• Correct size replacement
• Groove review
• Cross section adjustment
• Application redesign if needed
Common Risks of Trying to Shrink O-Rings

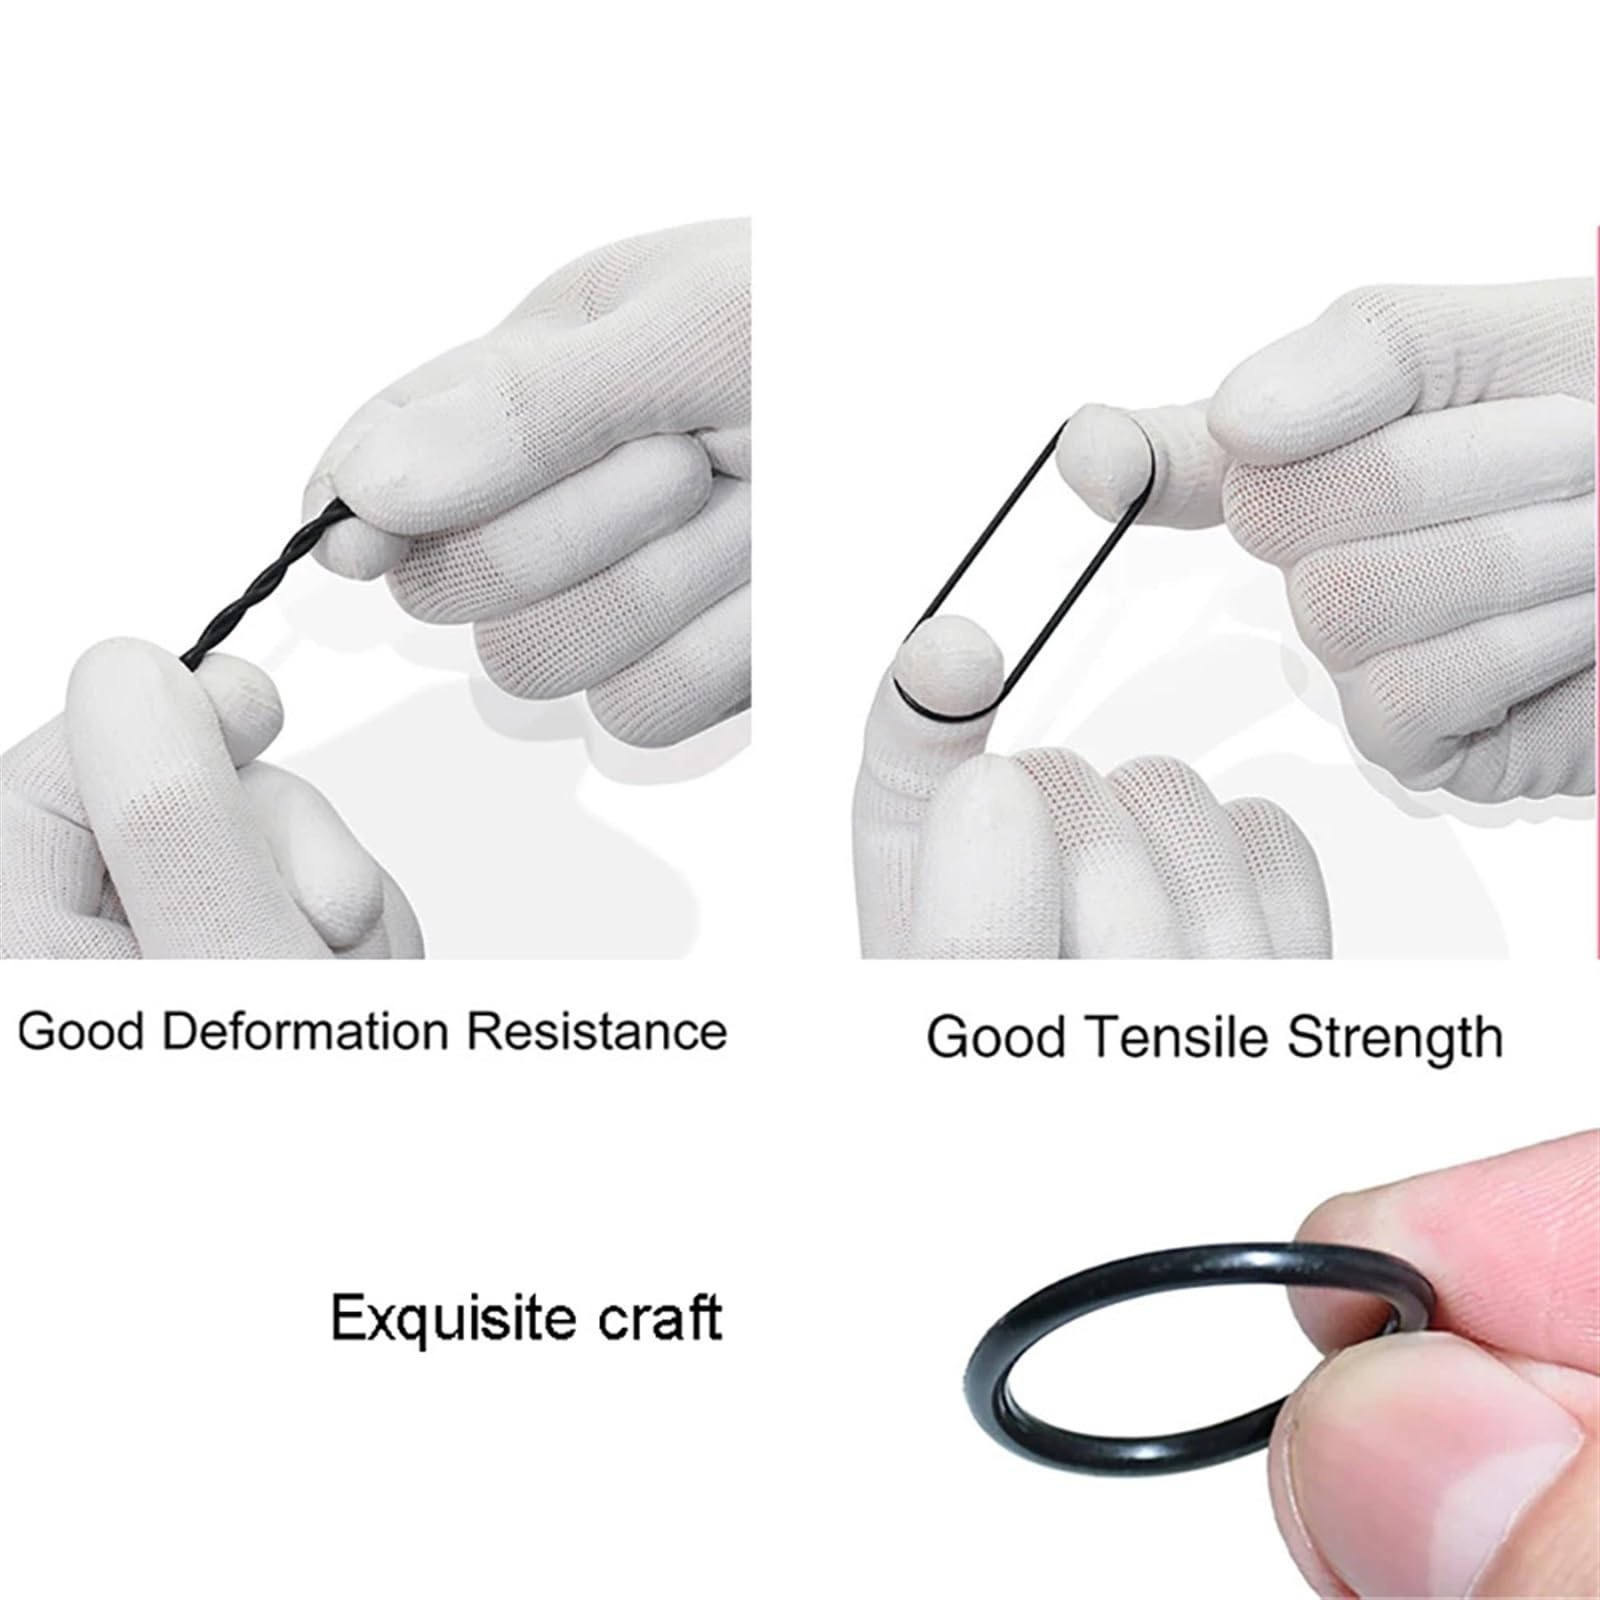
Loss of Material Properties
Improper treatment may affect elasticity or sealing behavior.
Dimensional Instability
Temporary changes may not remain consistent in service.
Potential Seal Failure
Modified seals may increase leakage risk in critical applications.
🚫 Risks To Avoid
• Damaging elastomer properties
• Unpredictable fit changes
• Reduced seal life
• Reliability loss
When Temporary Fit Adjustment May Be Considered
There may be limited cases where temporary dimensional assistance is discussed.
Assembly Assistance Situations
Minor temporary dimensional change may occasionally help installation handling.
Non-Critical Prototype Applications
Engineering evaluation environments may allow controlled experimentation.
Not for Critical Service Repairs
For production or safety-critical systems, correct replacement remains best practice.
⚠ Best Practice: For critical sealing systems, do not rely on “shrinking” methods instead of proper replacement.
Best Practices for Perfect O-Ring Fit
Rather than modifying seals, focus on fit optimization.
Measure Before Selection
Accurate measurement prevents many fit problems.
Use Standard Sizes
Standard dimensions simplify reliable sealing design.
Match Material to Application
Fit and material compatibility work together.
Using the correct Rubber O-Ring from the start is usually the most reliable path to perfect fit.
Perfect Fit Checklist
✓ Verify dimensions
✓ Confirm groove compatibility
✓ Select correct cross section
✓ Use proper installation methods
✓ Avoid modifying seals when replacement is better
Expert Perspective on O-Ring Shrinking
From an engineering standpoint, controlled resizing is rarely the preferred solution. Precision seals are designed to specific tolerances for a reason.
In most cases, proper specification, material selection and installation practices will provide far better results than attempting to shrink an incorrect O-ring.
⭐ EEAT Insight: Experienced sealing engineers typically treat incorrect O-ring sizing as a selection issue to correct, not a component to modify.
Frequently Asked Questions
1. Can a rubber O-ring be permanently shrunk?
Permanent intentional shrinking is generally not a standard or recommended method for adjusting O-ring size.
2. Does cooling shrink an O-ring?
Cooling may cause slight temporary contraction in some materials, but it is not a permanent sizing solution.
3. Is shrinking an oversized O-ring recommended?
In most cases, replacing it with the correct size is the preferred engineering solution.
4. What is the best way to get a perfect O-ring fit?
Use accurate measurements, proper groove design and the correct standard O-ring size.
5. Can shrinking methods damage O-rings?
Improper attempts to alter dimensions may affect material properties and sealing performance.